How to Clean a Tent: Step-by-Step Maintenance Guide
By Mateo Alvarenga • 3rd Oct

When your tent becomes a bedroom away from home (not just a shelter), how to clean a tent transforms from a chore into a critical act of space preservation. For partnered campers, families, or dog owners, tent maintenance directly impacts whether that carefully measured interior turns into a conflict-free sleep sanctuary or a cramped, musty nightmare. Fit isn't just about square footage on paper; it's about maintaining the ergonomic integrity of your shelter so pillows, knees, and paws have room to breathe night after night. In this guide, we'll walk through a methodical cleaning process that protects your investment and ensures your layout continues to deliver real sleep space. Because layouts that remove friction start with meticulous care.
Why Cleaning Matters for Your Sleep Sanctuary
Think of your tent as a carefully engineered sleep ecosystem. Mud tracked in from vestibule choreography, sunscreen smeared on mesh walls, or pet hair embedded in corners all erode the usable space you paid for. When a door zipper stiffens from dirt buildup or condensation turns into mold along the floor seam, your '4-person' shelter may suddenly fit only two comfortably. I once mapped a tent's headroom after a season of neglect, what looked like adequate vertical space on paper became a claustrophobic cave where a partner's shoulder pressed against cold, damp fabric. Tent maintenance isn't cosmetic; it's about preserving the spatial contract between what you bought and what you actually sleep in.
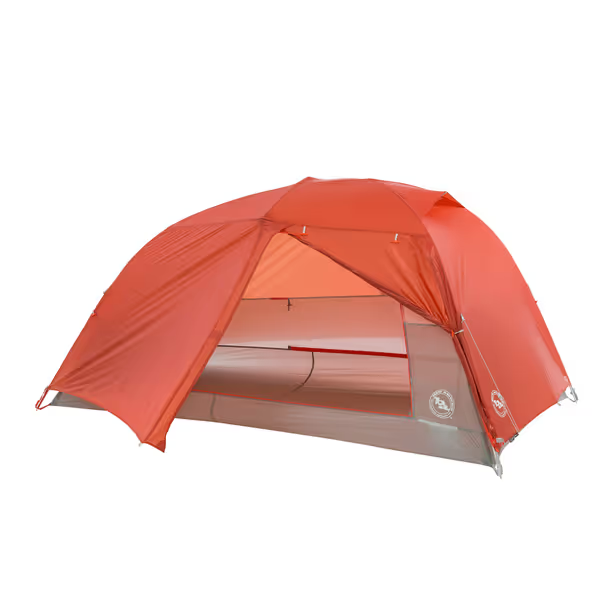
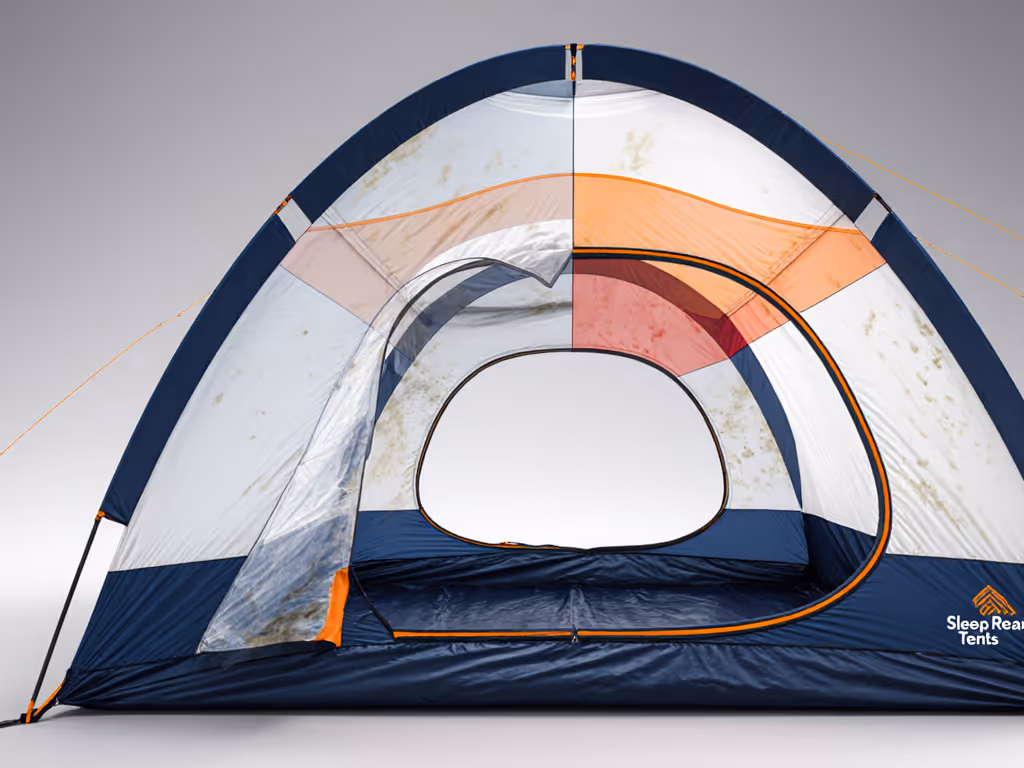
Big Agnes Copper Spur HV UL
Ultralight, roomy tent for comfortable backpacking in any weather.
$520.95
Pole ArchitectureHigh Volume for steeper walls
Pole ArchitectureHigh Volume for steeper walls
Pros
Lightweight, easy to set up, highly portable.
Spacious interior with excellent headroom and storage.
Exceptional weather resistance; stands up to wind and rain.
Cons
Single door/vestibule on some models may limit access.
Customers find this backpacking tent lightweight and durable, with one mentioning it stands up to hard winds. The tent is easy to set up, roomy enough for two adults with dual doors and vestibules, and customers appreciate its storage pockets. They like its weather resistance, with one customer noting it kept them dry in light rain.
Customers find this backpacking tent lightweight and durable, with one mentioning it stands up to hard winds. The tent is easy to set up, roomy enough for two adults with dual doors and vestibules, and customers appreciate its storage pockets. They like its weather resistance, with one customer noting it kept them dry in light rain.
Essential Supplies: More Than Just Soap and Water
The Right Cleaning Arsenal
Using improper cleaners (like standard laundry detergent) breaks down waterproof coatings and compromises fabric integrity, directly attacking your tent's headroom potential. Gather these instead:
- Cold to lukewarm water: Hot water degrades DWR coatings that keep rain out of your sleeping area.
- Gear-specific cleaner (like Nikwax Tech Wash®): Preserves fabric breathability critical for condensation control.
- Nonabrasive sponge or soft-bristle brush: Avoids scraping coatings off steeply angled walls where headroom is already tight.
- Mild dish soap (fragrance-free): Only for spot cleaning stubborn stains near door zippers or vestibule seams.
Step-by-Step Cleaning Process
Step 1: Pre-Clean Space Assessment
Before touching water, treat this like a sleep posture tagging exercise. Lay your tent flat and note:
- Where knees or elbows consistently brush the walls (high-wear zones)
- Vestibule corners accumulating muddy paw prints
- Any discoloration along the rainfly seam line where condensation pools
This isn't just cleaning, it's diagnosing spatial vulnerabilities. Like when I traced headroom with laser lines and discovered our 'spacious' 3-person tent had usable sitting height for only one adult along the central ridge pole.
Step 2: Dry Debris Removal (The Foundation of Floor Plan Integrity)
- Shake vigorously outside to dislodge sand and debris from corners (especially where vestibules meet the main body).
- Vacuum interior while set up to extract pet hair or dirt wedged near door zippers.
- Spot sweep the floor with a soft brush, focusing on high-traffic zones where pads compress against walls.
Skipping this step grinds abrasives into fabric, prematurely wearing thin the very areas where headroom and shoulder space are most critical.
Step 3: Targeted Spot Cleaning
Attack problem areas identified in Step 1 with precision:
- Mesh doors: Gently dab with mild soap solution to avoid clogging pores that regulate airflow.
- Vestibule seams: Clean zipper tracks where mud compromises smooth operation, critical for door/vestibule choreography during rainy entries.
- Floor corners: Address pet-urine stains immediately with enzymatic cleaner to prevent permanent odor that disrupts sleep.
Step 4: Full Immersion Bath
- Fill a tub with cool water and gear-specific cleaner (never submerge carbon poles).
- Unzip all doors and turn the tent inside out to expose hidden dirt in gear pockets and corners.
- Submerge and gently agitate. Avoid twisting, which stresses high-tension seams where headroom geometry depends on even fabric tension.
- Soak 15-20 minutes max; prolonged soaking degrades waterproof coatings on sloped walls.
Step 5: Rinse and DWR Reapplication
Thorough rinsing prevents soapy residue that attracts dirt, recreating the very problems you're solving. Then:
- Reapply DWR treatment to rainfly and steep walls where water beads less effectively. For a step-by-step walkthrough of seam sealing, rainfly adjustments, and groundsheet usage, see our tent waterproofing guide.
- Focus on high-condensation zones like the upper dome where headroom narrows, this maintains the tent's ability to breathe during humid nights.
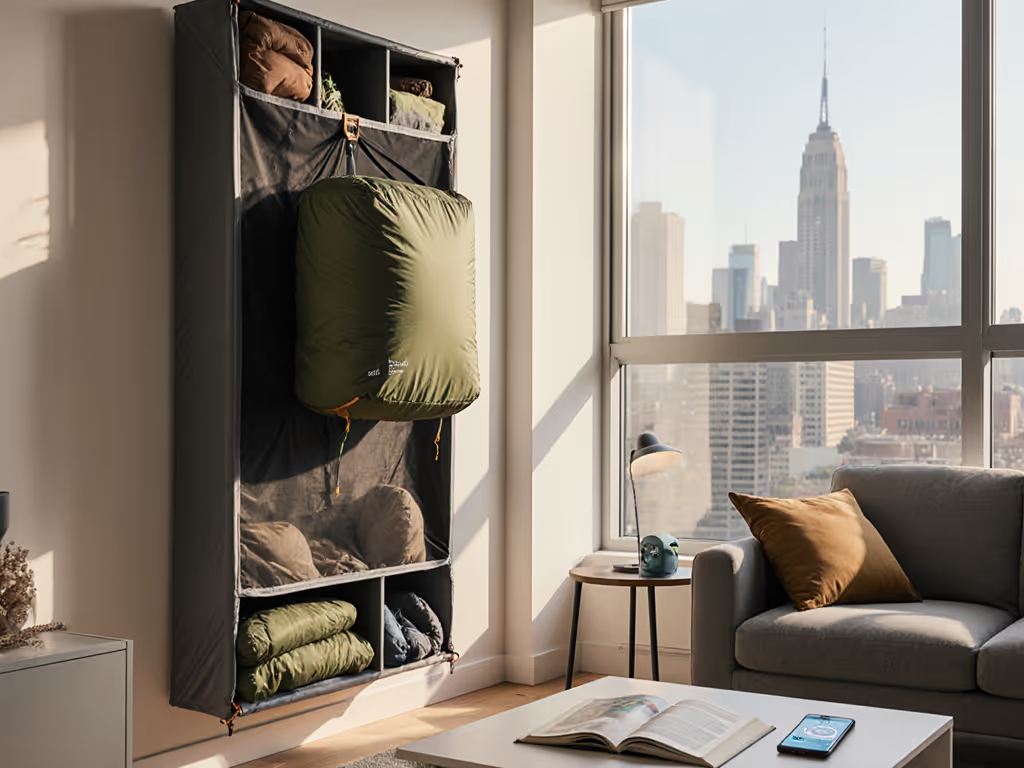
Proper Storage: The Final Step in Space Preservation
Proper tent storage makes or breaks your next trip's comfort. Never pack a damp tent, it breeds mold that permanently stains fabric and eats away at waterproof coatings, reducing usable space by forcing you to sleep farther from walls. Instead:
- Hang completely dry for 48+ hours in a shaded area (sunlight degrades fabrics over time).
- Store loosely in a breathable cotton sack (not the compression stuff sack) to maintain pole geometry.
- Check vestibule zippers annually; stiff operation disrupts the door choreography that makes gear storage and pet access seamless.
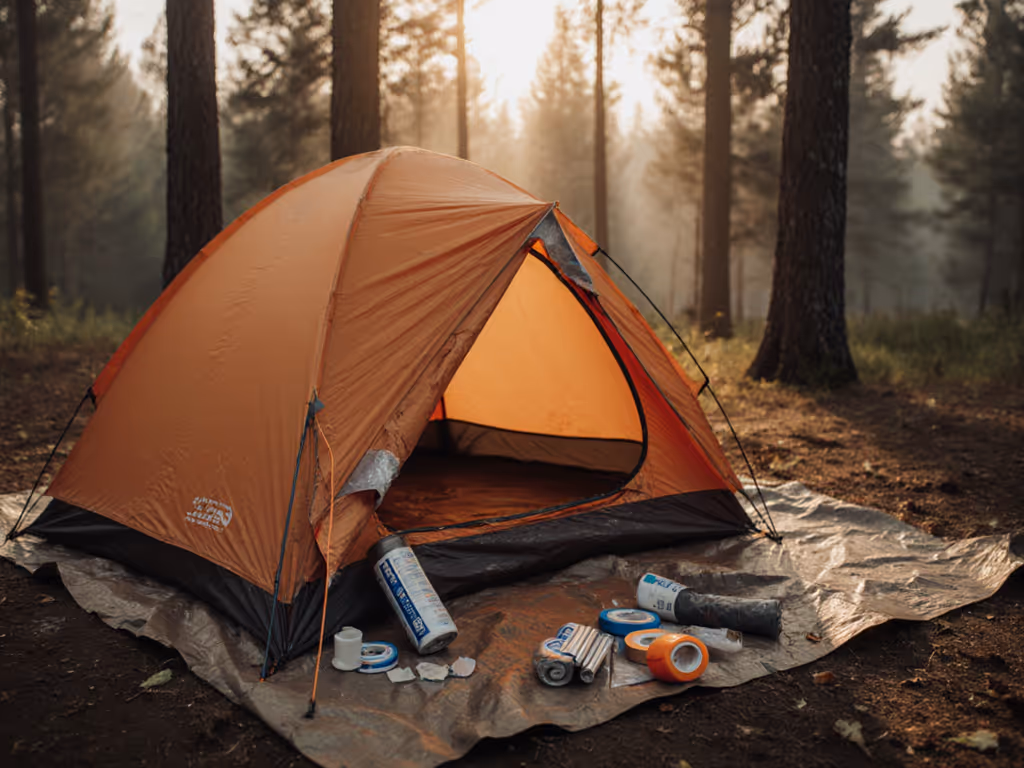
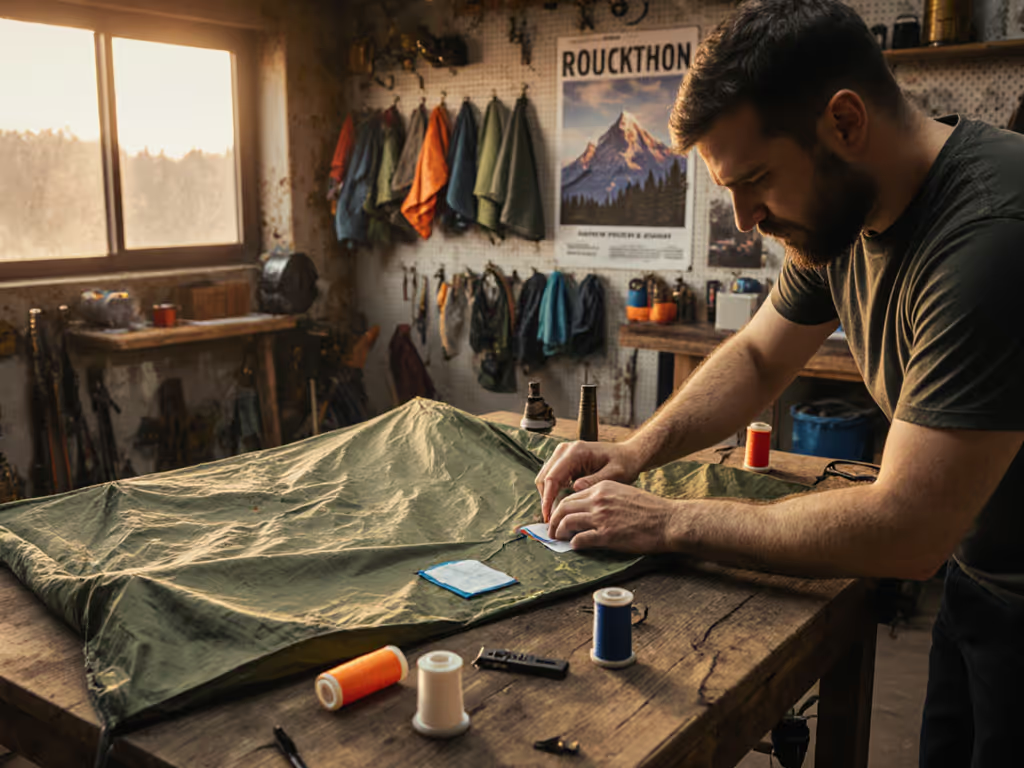
When to Consider Repairs
Spot a hole near a mesh door? Address it immediately with Tenacious Tape, small tears become big spatial compromises when wind flaps fabric against sleepers. For tent repair basics, prioritize:
- Zipper lubrication (using Gear Aid Zipper Cleaner & Lubricant)
- Seam sealing on floor edges where abrasion exposes stitching
- Pole sleeve reinforcement where repeated pitching creates wear
These fixes maintain the precise interior volume promised in the specs. A neglected zipper or leaky seam transforms your thoughtfully planned layout into a compromised space where one partner sleeps near a damp corner while the dog circles uncomfortably.
Your Action Plan for Long-Term Sleep Space Integrity
Tent cleaning isn't just maintenance, it's spatial fidelity. Every grain of dirt removed preserves the headroom you mapped, the vestibule flow you choreographed, and the shoulder room that separates a restful night from a cramped disaster. Next time you return from a trip, commit to this:
- Assess first: Note where sleep space felt compromised due to dirt or mold.
- Clean deliberately: Treat each step as preserving your tent's ergonomic promise.
- Store correctly: Protect the spatial geometry that makes your tent truly fit your needs.
When we honor the intricate relationship between fabric and function, we transform tent maintenance from a chore into an act of care for the space where memories are made. Because a clean tent isn't just spotless, it's a layout that continues to remove friction, night after night.
Related Articles