How to Elevate Your Outdoor Sleeping Experience: Expert Tips for Choosing the Perfect Location and Setup
By Mateo Alvarenga • 26th Oct
Your outdoor sleeping experience begins long before you zip the tent door. It starts with how you read the land, the weather, and your gear’s strengths and limits. When you match location, orientation, and shelter design, your campsite becomes a quiet, dry, and restorative space. In this guide, we will walk through field-tested strategies that blend comfort with safety, from microclimate scouting to condensation control. Along the way, you will see how Sleep-Ready Tents uses evidence-based tent reviews and buying guides to help you choose tents and tent setups that genuinely improve sleep.
Choose a Microclimate: Reading the Land Before You Unpack
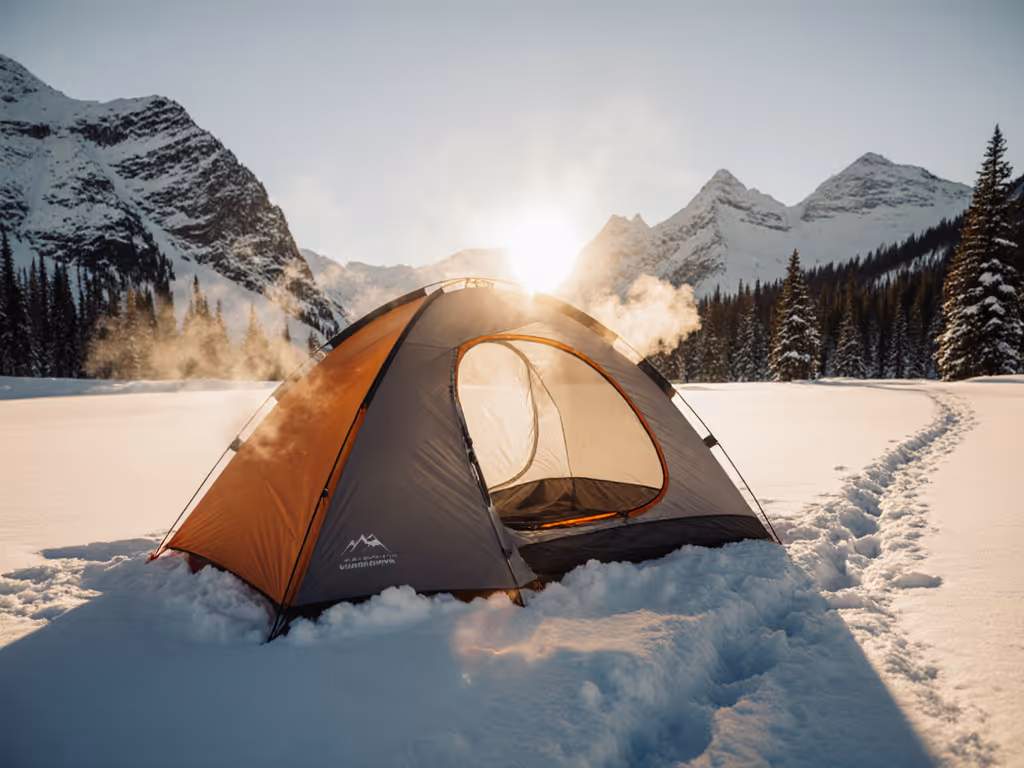
Before you stake a single corner, step back and scan for microclimates. Gentle rises drain cold air; shallow depressions trap it. A site just 3 to 6 feet higher can feel several degrees warmer at dawn, which matters when the ground is damp and the breeze is light. Moreover, trees can filter wind and dew, yet dense canopies may slow drying after rain. If storms are possible, avoid lone trees or high ridgelines; aim for a leeward position behind natural windbreaks like boulders or shrub belts that redirect gusts without creating turbulence near your shelter. For a deeper walkthrough, see our campsite selection guide.
Look for durable surfaces that minimize impact and maximize comfort. Firm, slightly springy ground with minimal roots reduces pressure points that wake you at 2 a.m. A flat pad the size of your footprint helps your sleeping pad stay centered, so you do not roll into sidewalls. Nearby water is convenient, but being at least 200 feet away reduces condensation spikes and wildlife traffic. Sleep-Ready Tents advises scanning from macro to micro: assess regional weather, then tree exposure, then surface texture. A few extra minutes here often prevents hours of discomfort later.
Site Selection Quick Reference
| Factor | What to Look For | Why It Matters |
|---|---|---|
| Cold Air Drainage | Low spots nearby, slightly higher camp pad | Reduces pre-dawn chill and frost risk |
| Wind Exposure | Leeward side of terrain or trees, not wind tunnels | Quieter sleep and better tent stability |
| Surface Durability | Firm, flat soil or sand-free gravel, minimal roots | Comfort without trenching or long-term site impact |
| Water Proximity | At least 200 feet from streams or lakes | Less condensation and fewer nocturnal visitors |
| Sunrise and Shade | Morning sun access, afternoon shade | Dry fly faster, avoid overheating during naps |
The Perfect Pitch: Orientation, Anchoring, and Condensation Control
Orientation shapes how air moves across your shelter. Face the narrow end into prevailing wind to reduce buffeting, but offset the door slightly to prevent gusts from entering head-on. Next, tension the rainfly evenly so water sheds rather than pools; a crisp pitch prevents noisy flapping that fragments sleep. On soft ground, swap thin stakes for Y-profile or sand stakes, and angle them at about 20 to 30 degrees away from the tent for stronger hold. If wind is variable, add guylines to the windward side first and position them over structural points like pole intersections. For material strengths and trade-offs, read our tent pole materials comparison.
Watch This Helpful Video
To help you better understand outdoor sleeping experience, we've included this informative video from MyLifeOutdoors. It provides valuable insights and visual demonstrations that complement the written content.
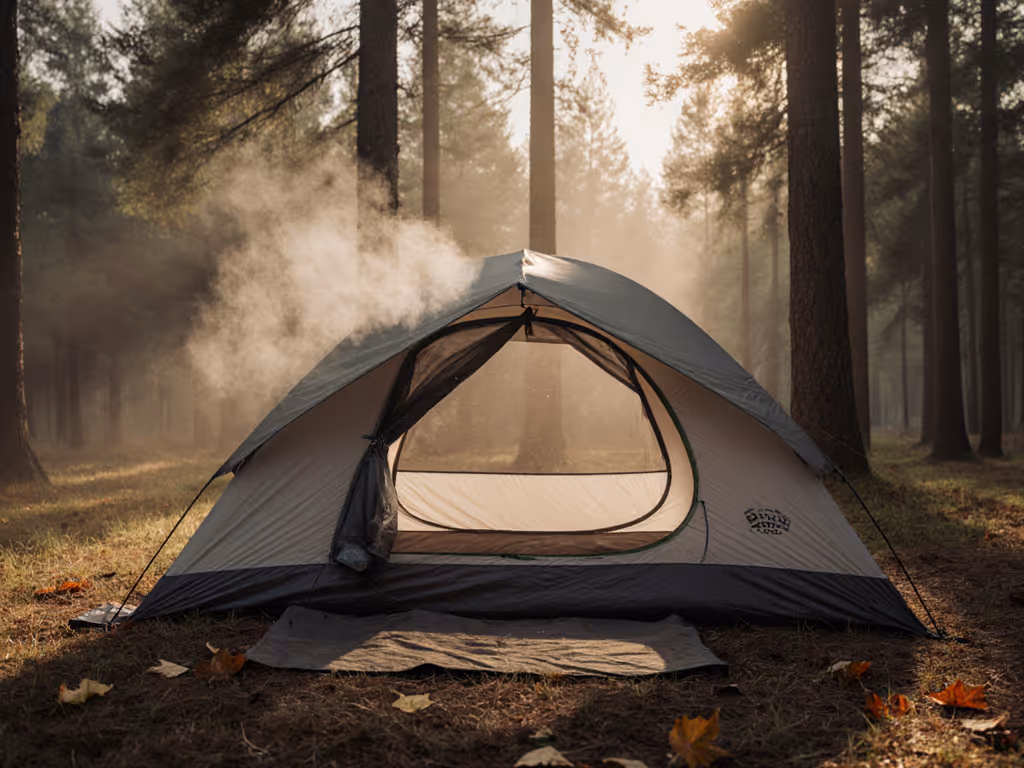
Condensation is not a failure of your tent; it is physics. Warm, moist air from breathing meets a cooler surface, and water vapor becomes droplets. You can manage that. Create cross-ventilation: crack opposite vents, prop the rainfly away from inner mesh, and keep gear from blocking low vents. Field tests show that even a one-inch gap between fly and ground improves airflow measured in CFM [cubic feet per minute]. Using a small pack towel to wipe the inside of the fly at dawn keeps gear dry. Sleep-Ready Tents emphasizes airflow diagrams in reviews and offers condensation-control strategies, so you can compare real vent geometries rather than rely on vague marketing.
- Pitch low when storms loom; pitch higher when nights are dry to boost airflow.
- Avoid cooking in vestibules; it spikes humidity and increases condensation.
- Use a footprint slightly smaller than the floor to prevent water channeling.
- Sleep with the least bulky gear near vents to keep air paths open.
Designing Your Outdoor Sleeping Experience: Gear, Layout, and Setup
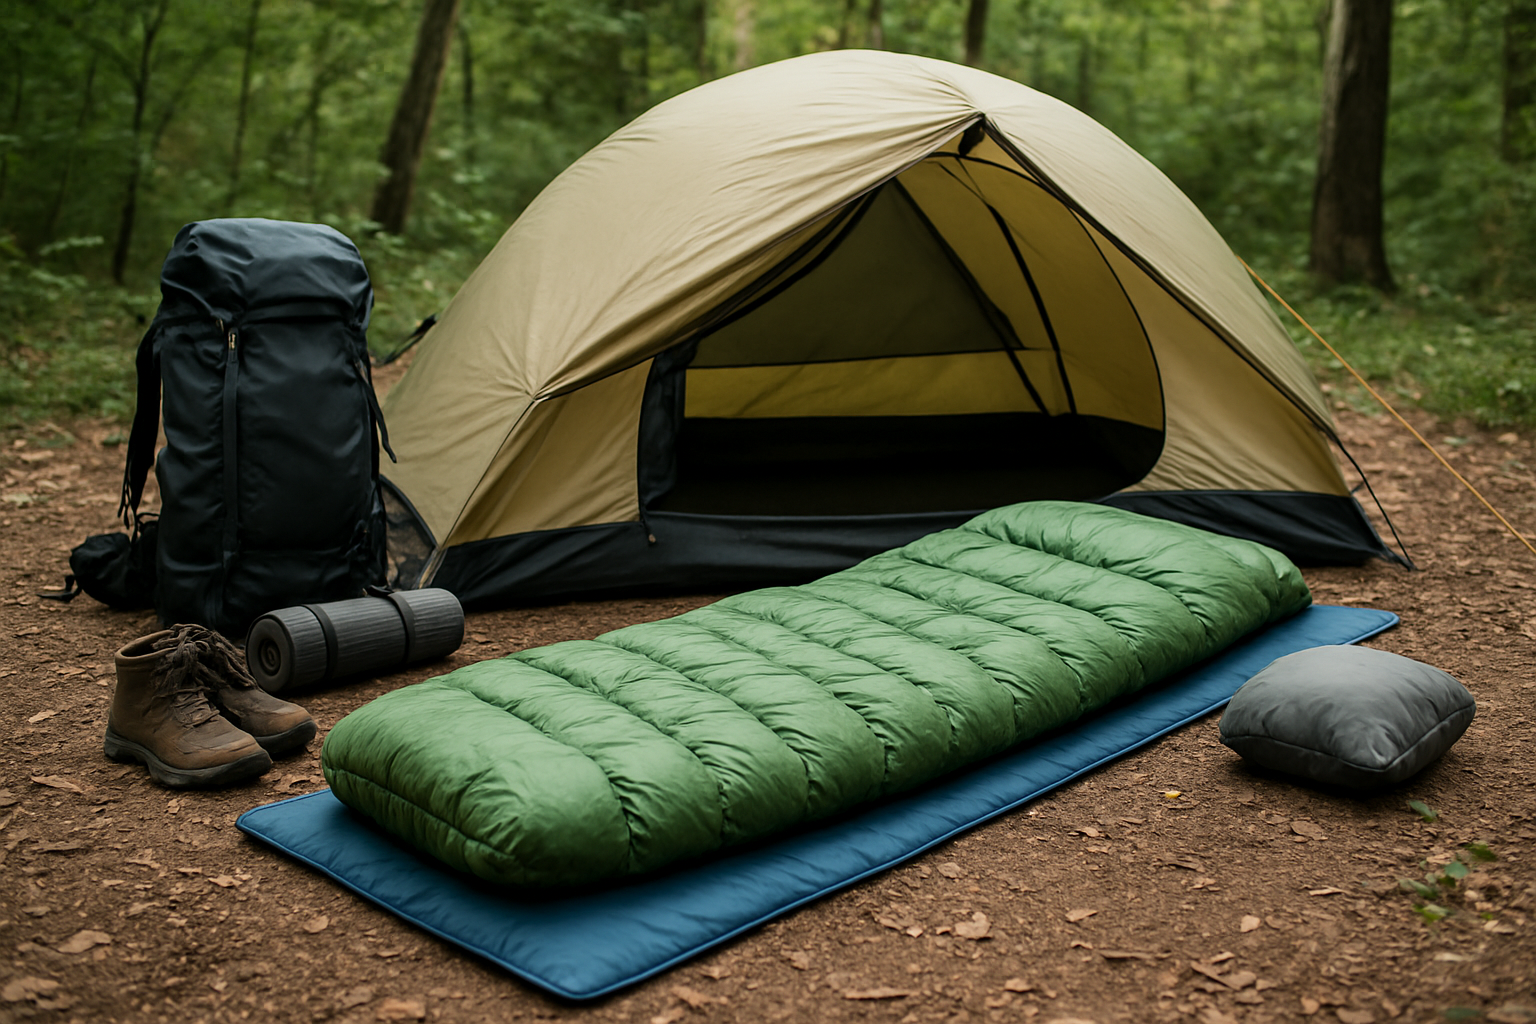
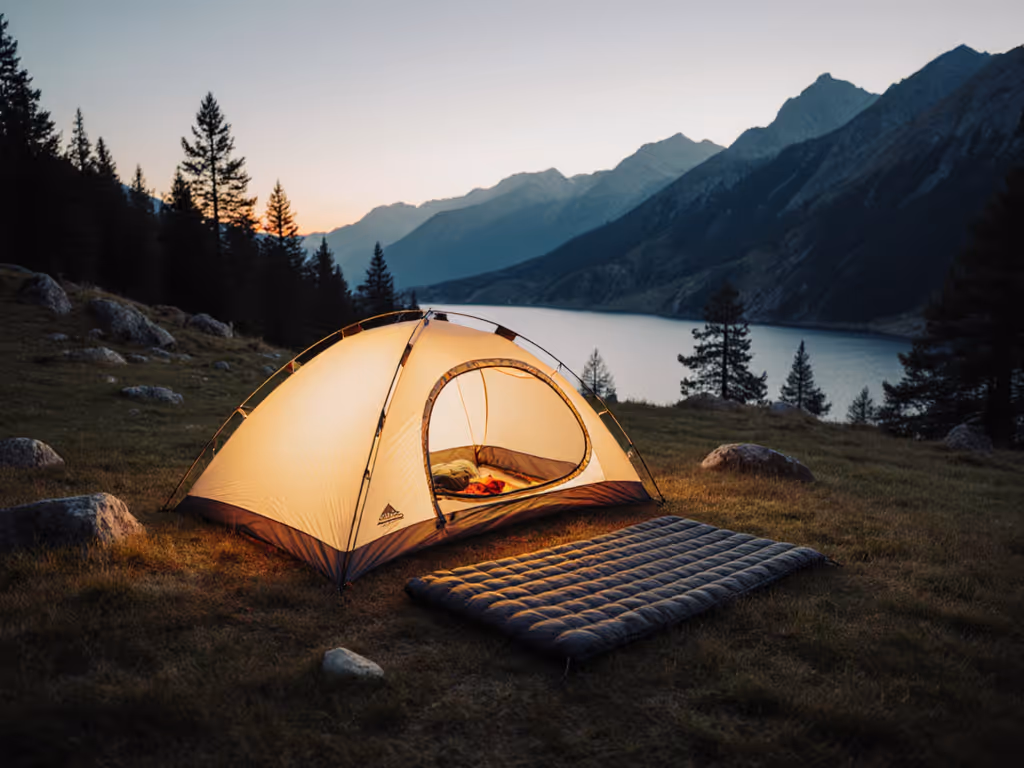
Comfort is a system, not a single piece of gear. Start with a sleeping pad that matches conditions: higher R-value [insulation rating] for cold ground, lower for warm nights. A 3.5 to 4.5 R-value [insulation rating] suits shoulder seasons for most campers, while ultralight hikers in hot climates can go lower to save weight. Pair it with a bag or quilt rated 10 to 15 degrees Fahrenheit below the expected low for a margin of safety. If you run cold, add a hooded liner or a light puffy jacket to extend warmth without carrying a second bag.
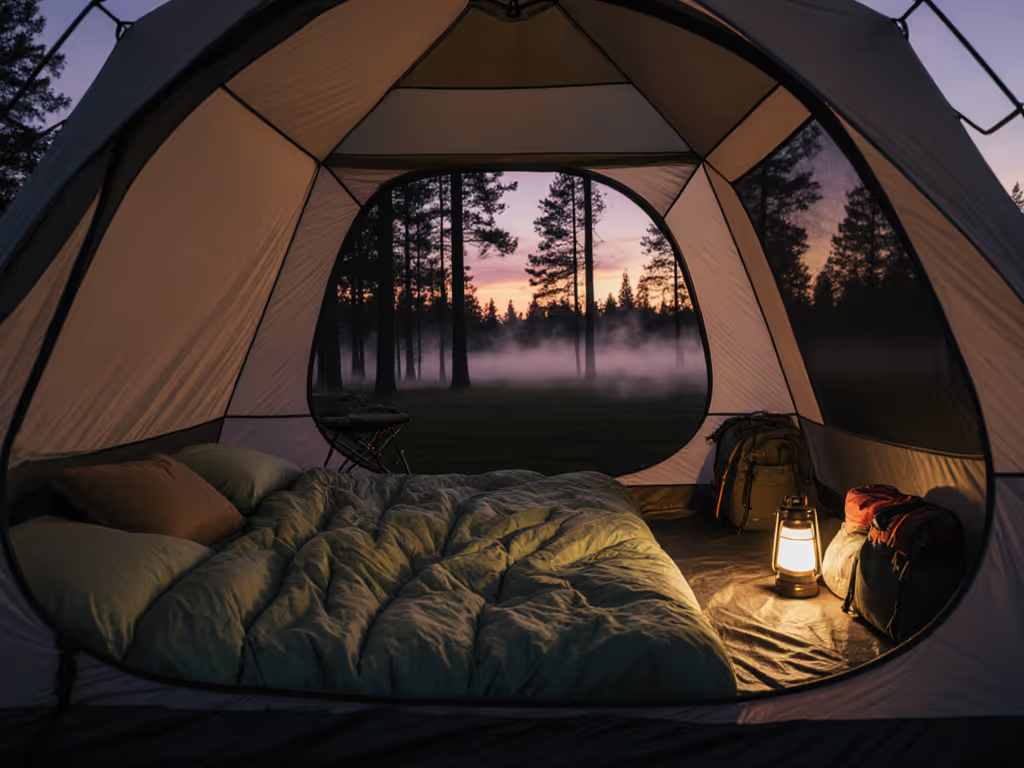
Layout is the quiet hero of restful nights. Keep head-upslope on gentle grades to reduce pressure on your lower back. Stage essentials in the same place every time: headlamp clipped to an interior loop, water bottle within reach, and a warm layer folded at your feet in case of night chills. A small groundsheet at the entrance keeps grit out and socks clean. For families, stagger sleeping positions like puzzle pieces so shoulders do not collide. Sleep-Ready Tents’ evidence-based tent reviews and buying guides include inside-photos and floorplan diagrams, helping you visualize whether a shelter truly fits your sleep system and movement patterns.
- Pick pad and bag ratings for your coldest likely night.
- Map a consistent gear layout to reduce night fumbling.
- Vent the fly and inner doors for airflow without drafts.
- Use earplugs and a soft eye mask to cut campsite noise and ambient light.
Weather-Proofing Your Shelter: Fabrics, Ratings, and Real-World Durability
Fabric choices affect how your tent behaves in wind, rain, and sun. Polyester resists stretch when wet, keeping pitches taut in storms. Nylon is strong for its weight but can sag when damp unless well tensioned. Polycotton blends breathe well and reduce condensation, though they weigh more. Dyneema Composite Fabric, often called DCF [Dyneema Composite Fabric], is ultralight and stable but comes at a higher price and requires care. Beyond fabric, coatings and treatments matter. PU [polyurethane] coatings and silicone layers impact water resistance and lifespan, while DWR [durable water repellent] helps water bead and roll off the fly rather than soak in and add weight.
Ratings can sound cryptic, so focus on what changes your sleep. HH [hydrostatic head] above 1500 mm typically handles steady rain; for shoulder-season storms, many testers prefer 2000 to 3000 mm to reduce misting under wind load. Denier [fiber thickness unit] influences tear resistance and longevity: 20D [denier] flys are lightweight for backpacking, while 40D to 68D [denier] fabrics last longer for frequent family camping. Sleep-Ready Tents compiles long-term wear data, zipper performance, and pole fatigue in its comparisons, making it easier to prioritize what matters for your trips.
Tent Fabric and Coating Comparison
| Material | Strengths | Watch Outs | Best Use |
|---|---|---|---|
| Polyester | Stable when wet, solid UV [ultraviolet] resistance | Can be heavier at higher denier [fiber thickness unit] | Family camping, car camping in variable weather |
| Nylon | High strength-to-weight, compact pack size | May sag damp; needs good tensioning | Backpacking, fast-and-light trips |
| Polycotton | Breathable, reduces condensation | Heavier, longer dry times | Basecamps, longer stays, comfort-forward trips |
| DCF [Dyneema Composite Fabric] | Ultralight, does not absorb water | Higher cost, abrasion sensitivity | Thru-hiking, minimalist setups |
| PU [polyurethane] + Silicone | Reliable waterproofing, versatile | PU [polyurethane] can hydrolyze over years | All-around performance across seasons |
Rapid Setup Without Sacrificing Comfort: Instant and Pop-Up Tents Done Right
When daylight fades and kids are hungry, a fast pitch is priceless. Instant and pop-up tents have improved dramatically, offering color-coded poles, hub mechanisms, and pre-attached flies that set up in minutes. The trade-off is often weight and, in some models, mediocre storm performance. To bridge that gap, look for reinforced hubs, floor fabrics above 120 denier [fiber thickness unit] for durability, and vent designs that do not collapse in wind. A vestibule with a drip edge keeps entryways dry, and at least two doors let families move without crawling over each other. See model-by-model instant/pop-up tent reviews to balance setup speed with storm performance.
Sleep-Ready Tents evaluates quick-pitch models under timed setups, night drills with gloves, and simulated gusts, then reports measurable differences. For example, a tent that opens in 90 seconds but needs constant re-tensioning is not truly fast in the real world. Meanwhile, a slightly heavier model that stays taut all night provides a calmer sleep and fewer midnight pole checks. If you want the speed of a pop-up with fewer regrets, data-backed testing beats guesswork. You will find checklists and buying guides that flag which instant shelters genuinely manage rain, wind, and condensation so your evening routine is heat-water-eat-sleep, not stake, fix, and fuss.
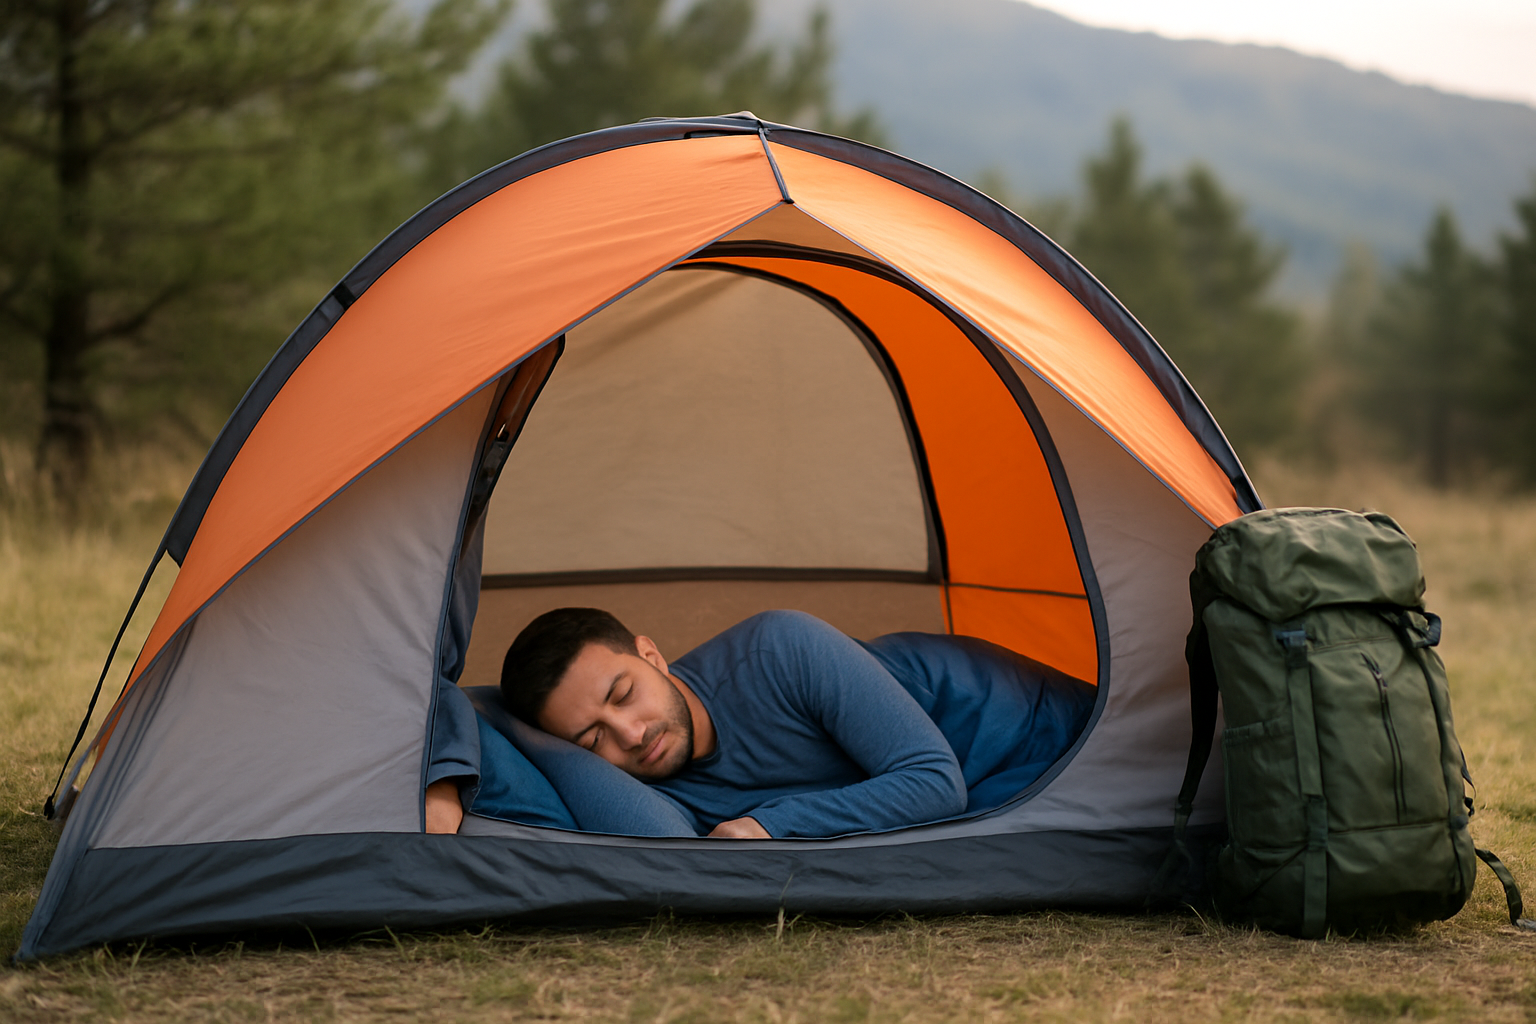
Field-Tested Scenarios and Checklists You Can Use Tonight
Real nights bring messy variables: shifting winds, sudden drizzle, noisy neighbors, or a dog that hogs the pad. Planning for those is how you get reliably good sleep. Picture a blustery lakeshore: you might move 50 yards inland behind a low rise, rotate the narrow end of your tent into the gusts, lower your fly by one clip setting, and add two guylines to the windward side. Now imagine a humid forest hollow after rain: you would choose the edge where a light breeze moves, open opposing vents, and push the inner door mesh about an inch away from a jacket so airflow is not blocked. Small moves cascade into big comfort. For step-by-step storm prep and safety, check our weather safety guide.
To stay consistent across trips, use a repeatable checklist. Sleep-Ready Tents condenses expert practices into one-page prep sheets for families and solo hikers alike. Print and pack one, or save it to your phone for quick reference. You will spend less energy firefighting and more time watching the stars.
Five-Minute Pre-Sleep Checklist
| Step | What You Do | Benefit to Sleep |
|---|---|---|
| 1. Vent Check | Open opposing vents and crack the fly | Less condensation and stuffy air |
| 2. Guyline Tune | Retension windward guylines after sunset cool-down | Stable, quieter tent all night |
| 3. Surface Sweep | Clear small cones, sticks, and acorns | Fewer pressure points under your pad |
| 4. Sleep System Fit | Check pad inflation and bag draft collar | Even warmth from midnight to dawn |
| 5. Layout Logic | Headlamp, water, layers within reach | No fumbling that wakes the tent |
How Sleep-Ready Tents Guides Smarter Choices for Lasting Comfort
Campers often struggle with condensation, setup complexity, and long-term durability. Sleep-Ready Tents was built to tackle those exact pain points through evidence-based tent reviews and buying guides you can trust. Each review draws on real-world testing in wind, rain, heat waves, and shoulder-season cold, cross-checking claims against field performance. You will find airflow diagrams, fabric and coating comparisons, and long-term wear notes that explain why a tent feels serene in a breeze or clammy at dawn.
Beyond single models, Sleep-Ready Tents compares entire categories so you can decide with confidence. Want eco-friendly tents that withstand storms? You will see which recycled fabrics and repairable pole sets hold up. Wondering about instant and pop-up tent evaluations for quick setup? Timed drills and failure modes are documented. Curious about detailed tent fabric comparisons for wind, rain, and longevity? Side-by-side tables translate specs like HH [hydrostatic head] and D [denier] into expected field behavior. By offering data-backed reviews, guides, and comparisons, Sleep-Ready Tents helps you align purchase decisions with how you actually camp, so comfort is repeatable rather than luck.
Great sleep outside is a design problem solved in small, smart steps. Imagine starting each night on a well-chosen pad of ground, in a shelter pitched to breathe and shed weather, with a sleep system that fits like a glove. In the next 12 months, you could dial in a personal setup that feels familiar in any landscape, from breezy beaches to quiet pine flats. What small change will you try first to transform your next outdoor sleeping experience?
Additional Resources
Explore these authoritative resources to dive deeper into outdoor sleeping experience.
Elevate Your Outdoor Sleeping Experience with Sleep-Ready Tents
Get data-backed reviews, guides, and comparisons from Sleep-Ready Tents so outdoor enthusiasts and family campers confidently choose comfortable, weather-ready tents tailored to style, conditions, and lasting comfort.
Related Articles