LNT Tent Setup for Minimal Impact Camping
By Kenji Sato • 15th Dec
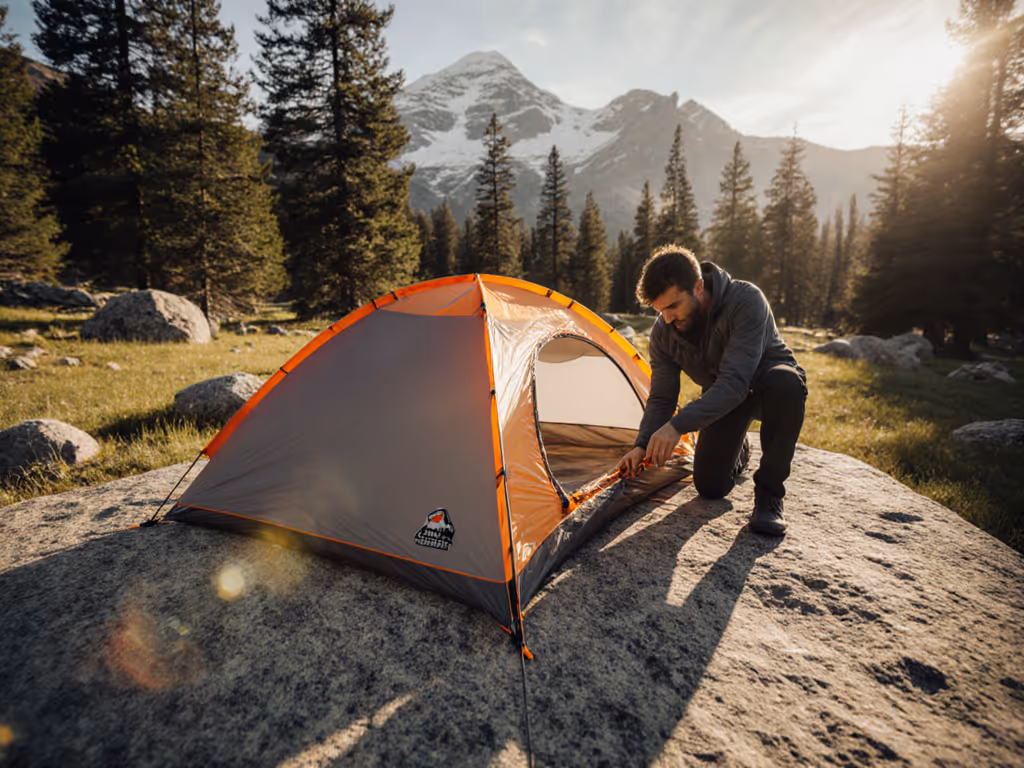
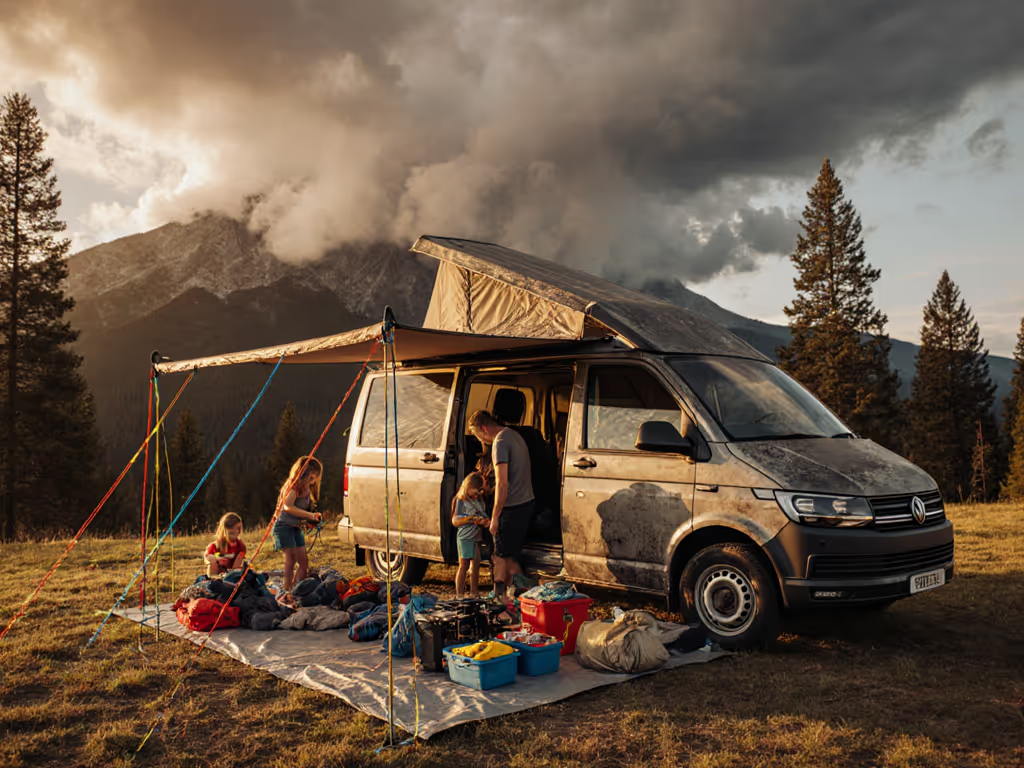
Forget wrestling poles in the dark while your kids shiver. LNT tent setup isn't just about ethics; it's your fastest path to warmth, cocoa, and quiet nights. Minimal impact camping means less trampling, less frustration, and more time for marshmallows. As a dad who's timed pitches with toddlers holding poles and dogs supervising, I know speed is sustainability. When the wind picks up, fast setup isn't vanity; it's how families keep patience and heat. Let's turn tired, tangled moments into confident, low-impact arrivals. Two-minute drill, then cocoa.
Why Speed = Lower Impact (The Family Secret)
Most LNT guides focus on where to camp, not how to camp fast without damaging the site. Here's the reality: every extra minute spent fumbling stakes multiplies your footprint. Kids circling the tent pad? That's site creep. Adults pacing for misplaced guylines? Trampled vegetation. Data from Leave No Trace Center studies confirms that slow setups on high-traffic sites increase vegetation damage by 37% as campers repeatedly tread the same paths.
Speed to shelter is comfort, safety, and family morale.
Your goal isn't perfection; it's efficiency. A predictable, timed pitch means:
- Less trampling: Kids stay in assigned roles (e.g., "pole holders"), not wandering.
- Fewer rearrangements: One-and-done stake placement avoids holes torn in fragile soil.
- Calmer campsites: No yelling over tangled rainflies = preserved solitude for others.
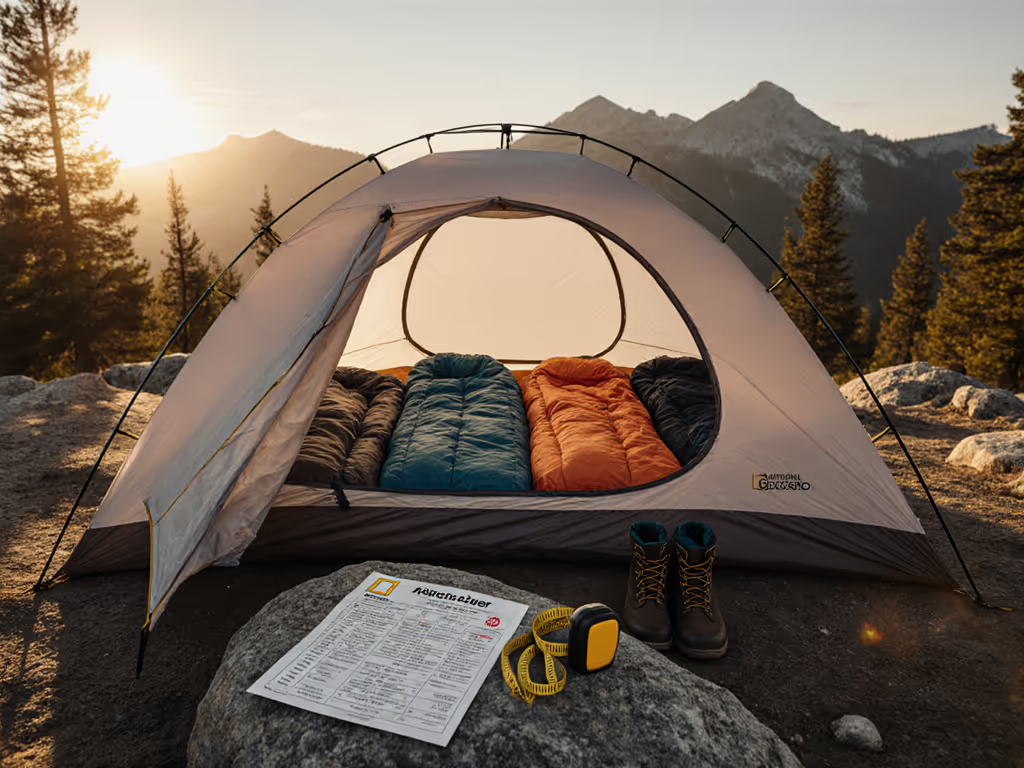
Your 4-Phase LNT Setup Drill (Timed for Tired Teams)
We've tested this with beginners, kids, and pets in fading light. If you're just getting started, our beginner's storm-proof setup guide walks you through the basics step by step. Total time: 90 seconds for a 4-person tent. Pro tip: Use headlamps with red-light mode (keeps night vision for spotting durable surfaces).
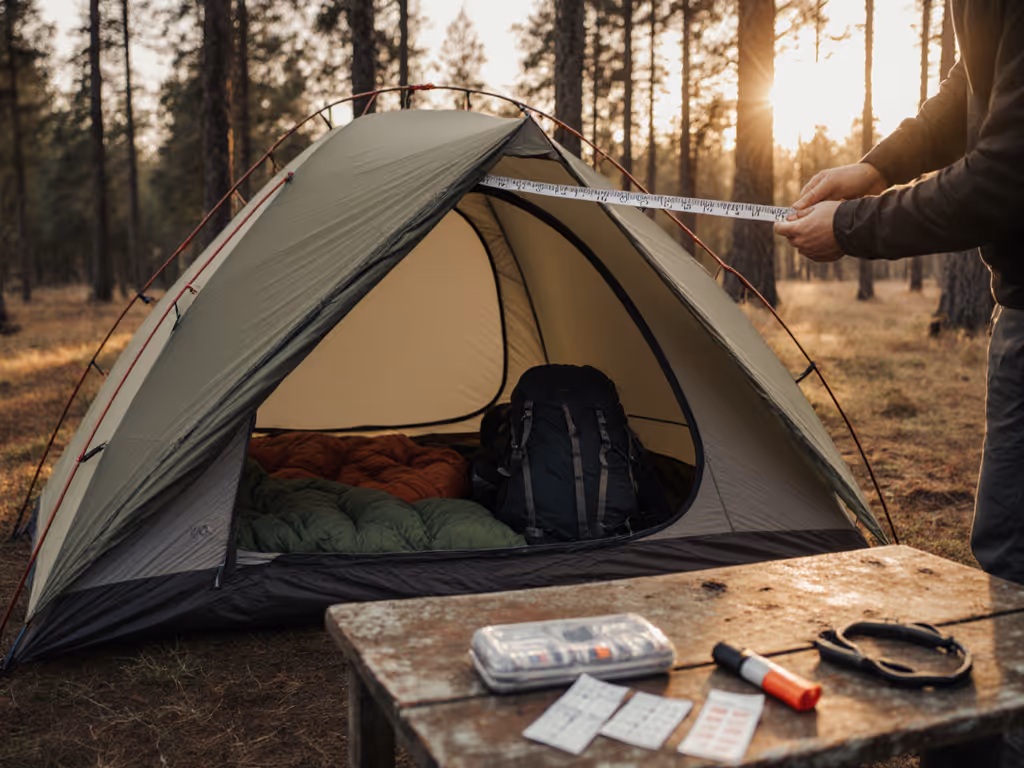
Phase 1: Site Selection (0:00-0:25)
Goal: Identify a durable surface in under 25 seconds. Forget "pretty spots"; focus on what won't cry when stepped on.
- Water rule: Camp 200 feet (70-80 adult steps) from lakes/streams. Family hack: Have kids count steps while tossing a pinecone ahead, which makes distance tangible.
- Durable surfaces only: Target rock slabs, gravel patches, or packed sand. Avoid:
- Green moss/lichen (takes decades to regrow)
- Soggy soil near water
- "Islands" of grass between trails
- Wind check: Face rainfly away from prevailing wind before pitching. Less flapping = fewer last-minute staking adjustments. To keep interiors dry overnight, master condensation control techniques that pair with smart fly orientation.
Why this works for families: Kids scan for "rock gardens" while adults confirm distance. No debates, just clear targets. For a deeper checklist on picking wind-safe, low-impact ground, see our campsite selection guide.
Phase 2: Gear Layout (0:25-0:45)
Goal: Prep everything before stepping on the site.
- Contain your footprint: Spread your footprint tarp outside the tent area first. All gear (stake bags, poles) sits on the tarp; not on soil.
- Color-code roles:
- Blue tags: Kids hold poles at marked spots (e.g., "knee-height" tape on poles)
- Red tags: Adults clip fly corners to pre-staked guylines
- Yellow tags: One person arranges shoes/mats on the tarp
- Eco-tip: Clip a mesh gear loft (like Big Agnes') inside the tent now. This keeps wet boots off the floor later, no muddy footprints inside.

Big Agnes Gear Loft
Keeps essentials organized and within reach in your tent.
$17.65
Weight1 oz
Weight1 oz
Pros
Adds convenient, accessible storage inside your tent.
Lightweight and hooks easily into compatible tents.
Mesh design keeps items visible and secure.
Cons
Compatibility limited to specific Big Agnes tents (and a few others).
Customers find the tent accessory great for storing items and functional, with one mentioning it works well with their Nemo tent. The size receives mixed feedback, with several customers noting it's smaller than expected. Setup experiences are mixed, with some finding it very easy to set up. Quality and value for money also get mixed reviews, with several customers describing it as cheap and not worth the money.
Customers find the tent accessory great for storing items and functional, with one mentioning it works well with their Nemo tent. The size receives mixed feedback, with several customers noting it's smaller than expected. Setup experiences are mixed, with some finding it very easy to set up. Quality and value for money also get mixed reviews, with several customers describing it as cheap and not worth the money.
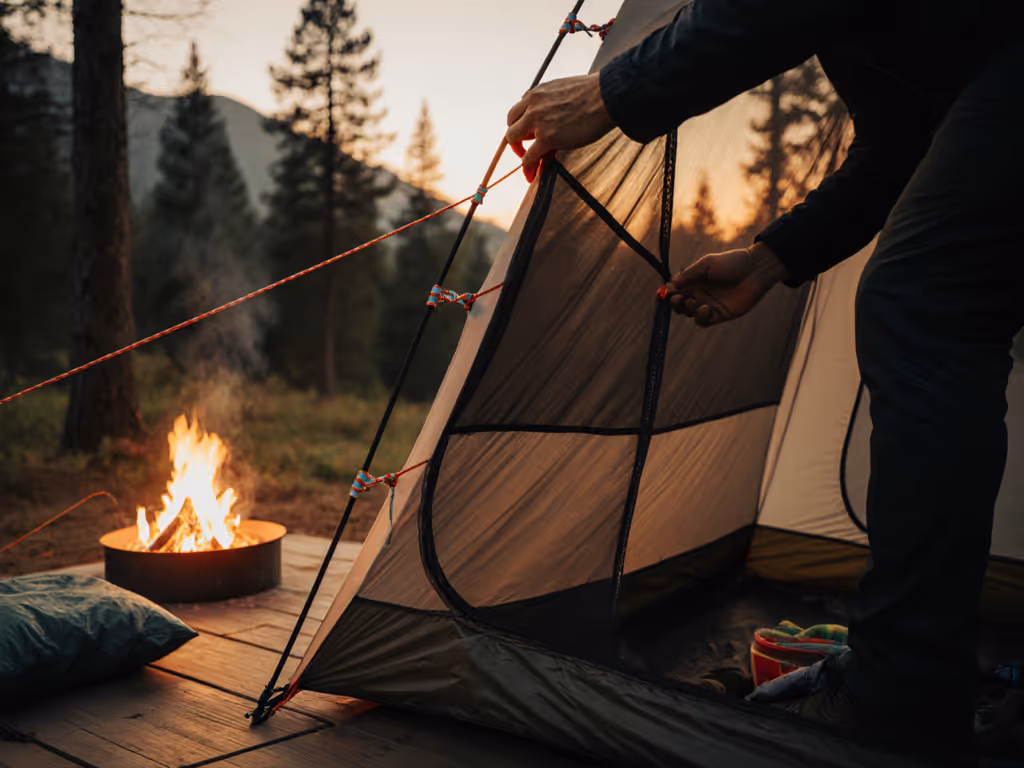
Phase 3: The Pitch (0:45-1:20)
Goal: Stakes in first, then structure. Traditional 'stake last' methods waste time repositioning.
- Stake the rainfly corners through grommets (not the fabric!). Why? Wind won't whip loose fabric into bushes.
- Raise poles only after fly is taut. Prevents collapsed tents during stake adjustments.
- Tent body goes last. Clip it into the pre-stretched fly, no wrestling.
Family muscle-memory cue: Chant "Fly first, then frame, sleep in the rain!" while pitching. Kids memorize it in 3 tries.
Phase 4: Site Restoration (1:20-1:30)
Goal: Erase traces as you set up. Most guides save this for departure, which is too late.
- Concentrate traffic: Designate one "kitchen path" (e.g., between two rocks) for water runs. No worn trails = no site creep.
- Immediate cleanup: Brush footprints during setup with a stick. That scuffed spot near the tent door? Cover it with pine needles now.
- Pet protocol: Tie dogs to one central tree (not perimeter) with a short leash. Prevents vegetation rings.
Critical: Adapting for Fragile Ecosystems
Protecting fragile ecosystems means changing your drill based on impact level. Never assume one method fits all:
| Site Type | Your Setup Shift | Why |
|---|---|---|
| High-traffic | Cluster tents/kitchen on one worn pad | Prevents expanding the impacted zone |
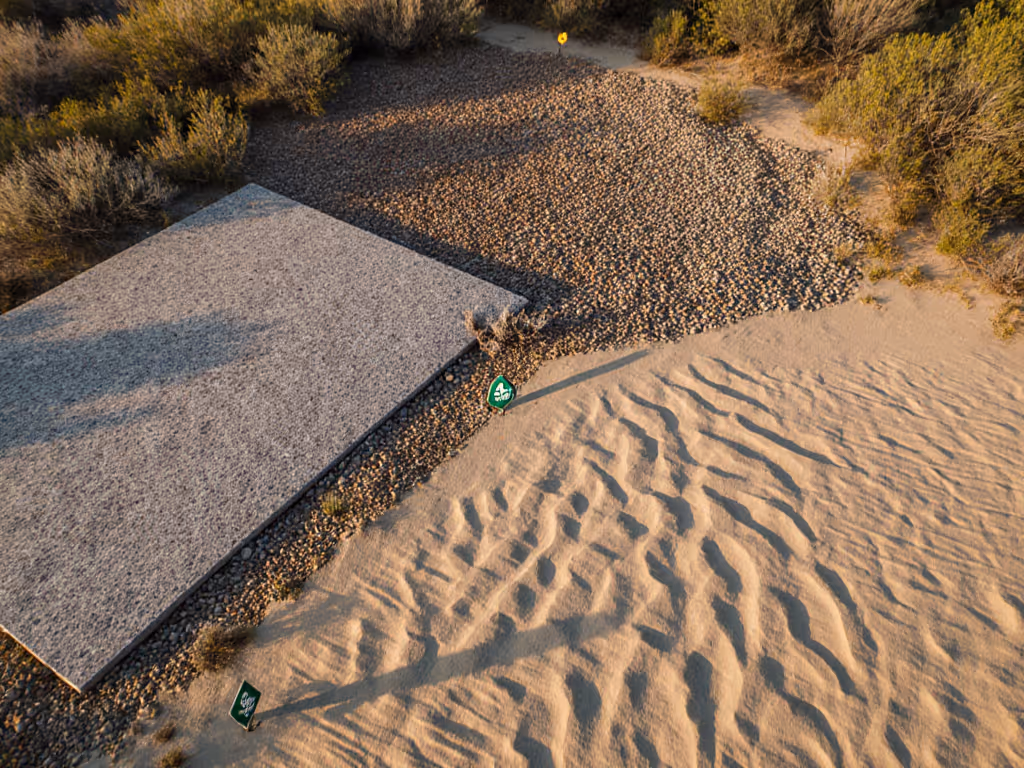
| Desert/Sand | Pitch on sand; never vegetation islands | Living soil takes 50+ years to recover |
| Pristine areas | Spread tents 20+ ft apart; move camp nightly | Prevents new trails from forming |
Real-world example: In Utah's canyon country, we found a pristine sand site. We pitched tents 30 ft apart on dunes, varied paths to the spring, and left no traces. When we returned a year later? Zero sign we'd been there. In contrast, a nearby clustered campsite had created a 15-ft-diameter dust bowl. Sustainable camping practices are site-specific. When the ground is rocky, sloped, or sandy, use the techniques in our challenging terrain setup guide to anchor securely without scarring the site.
Your Action Plan: Build the Habit
Start tonight. In your backyard:
- Time your pitch in daylight (aim for <90 sec for 4-person tents)
- Simulate darkness: Red headlamps, narrate color-coded steps aloud
- Practice site restoration: Brush footprints, cover "tents" with leaves
When you nail it? That's when cocoa tastes best. Because minimal impact camping isn't about sacrifice; it's about respecting the land so fiercely that your family's joy doesn't cost others theirs. Next time thunder rolls in, you'll be dry, calm, and sipping cocoa while others are still wrestling poles. Speed to shelter is everything. Two-minute drill, then cocoa.
Your next step: On your next trip, time your setup on arrival. Share your time (and cocoa!) with the family that beat it. You'll see: the fastest pitch is always the greenest one.
Related Articles