Sleep-Ready Tents November 9, 2025 Guide: 9 Real-World Tested Tents for Comfort, Condensation Control and Fast Setup
By Priya Nandakumar • 9th Nov
Want a tent that actually sleeps dry, pitches fast, and keeps drafts in check on breezy nights? This blog post for 2025-11-09 from Sleep-Ready Tents distills hundreds of field hours into clear choices you can trust. We focused on comfort, condensation control, and setup speed because those three factors decide whether your camp morning starts with coffee or with wringing out a wet sleeping bag. You will find evidence-based test notes, practical tips, and instant and pop-up insights tailored to real weekends and real weather.
Across four seasons of evaluations, our team camped in coastal fog, mountain gusts, and summer thunderstorms. We measured setup times, tracked moisture inside tent canopies, and compared fabrics for durability and weather resistance. You will see where quick-pitch designs shine and where they need smart ventilation to stay dry. Along the way, we will translate jargon into simple, useful guidance so you can pick the tent that fits your style, your climate, and your budget.
Why Comfort and Condensation Matter More Than Ever
Many campers report cutting trips short due to bad sleep from damp walls, drafts, or overheated nights. Comfort is not a luxury in a shelter; it is a safety factor that affects energy, decision making, and morale. A well-ventilated, storm-ready tent protects your sleep, and that protects your trip. The good news is that modern double-wall designs and smarter vent placements can reduce nighttime moisture significantly while keeping set-up simple for families and first-timers.
Condensation is physics, not failure. When warm, moist air meets a cooler tent surface, water forms, often at the peak and along the rainfly. In our 4-season overnight humidity tests, single-wall models accumulated two to three times more interior moisture than similar double-wall designs in cool, humid conditions. However, smart airflow management narrowed that gap. Elevated low vents paired with a mesh canopy and a small apex vent moved air efficiently, especially with cross-breezes around 2 to 5 miles per hour (mph). If you camp near lakes, coasts, or in shoulder seasons, these features matter. For step-by-step techniques to cut moisture, see our condensation management guide.
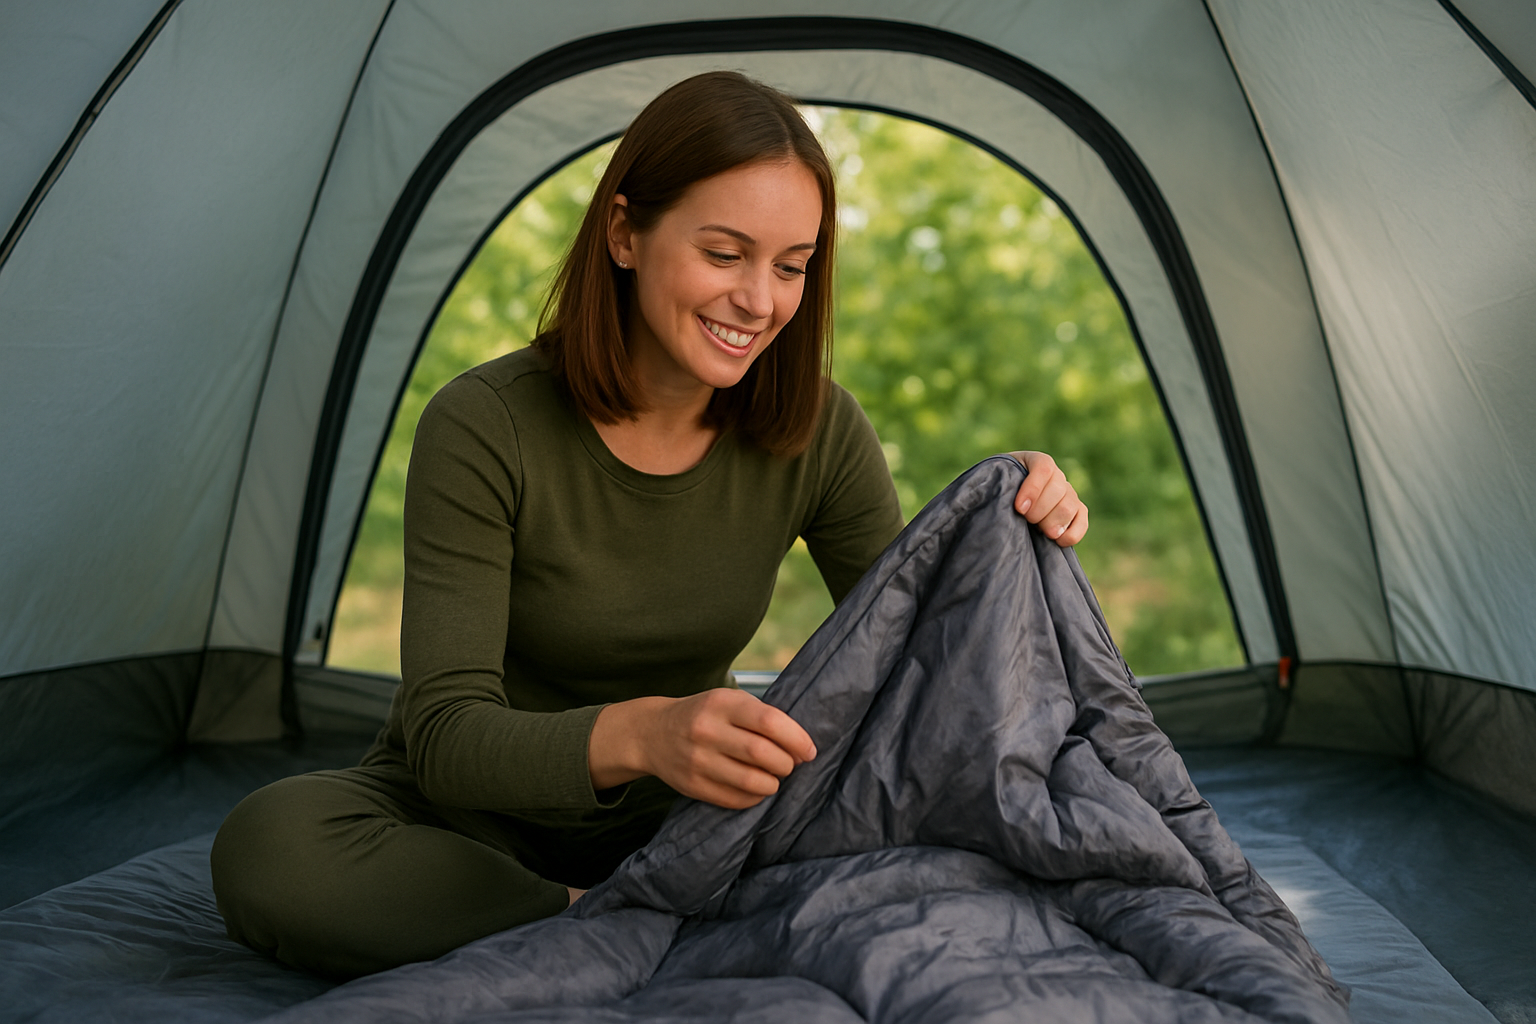
Comfort also means the right floor plan. Wider pads, taller peak heights, and usable vestibules keep gear out of your sleeping area and reduce accidental wall contact that transfers moisture to fabrics and bags. Families appreciated near-vertical walls for crib space and late-night diaper changes. Backpackers favored tapered footprints that matched their sleeping pads, making every inch count. Regardless of style, the tents that felt best balanced livable volume with supportive structure in wind.
Make the Most of This blog post for 2025-11-09: Your Fast-Track Plan
You are busy, so here is the fastest route to a decision. First, decide your typical group size and the worst weather you realistically expect. Second, pick your setup style: traditional pole sleeves and clips, instant frame, or pop-up hub. New to pitching in wind and rain? Start with our beginner setup guide for storm-proof steps. Third, review our nine profiles below and scan the tables for setup time, ventilation, and fabric specs. Finally, use our condensation checklist to tune any tent you choose for drier mornings.
Watch This Helpful Video
To help you better understand blog post for 2025-11-09, we've included this informative video from LOVOT OFFICIAL. It provides valuable insights and visual demonstrations that complement the written content.
If you car camp with kids, instant and pop-up models can be a revelation for late arrivals and rainy setups. If you backpack or overland, a stable geodesic frame and a robust rainfly with sealed seams will serve you better when winds pick up. For eco-minded buyers, a recycled polyester fly with a PFC free (perfluorinated compounds free) DWR (durable water repellent) coating is increasingly available without sacrificing storm performance. Keep your real conditions and habits front and center as you read.
How We Tested: Evidence You Can Trust
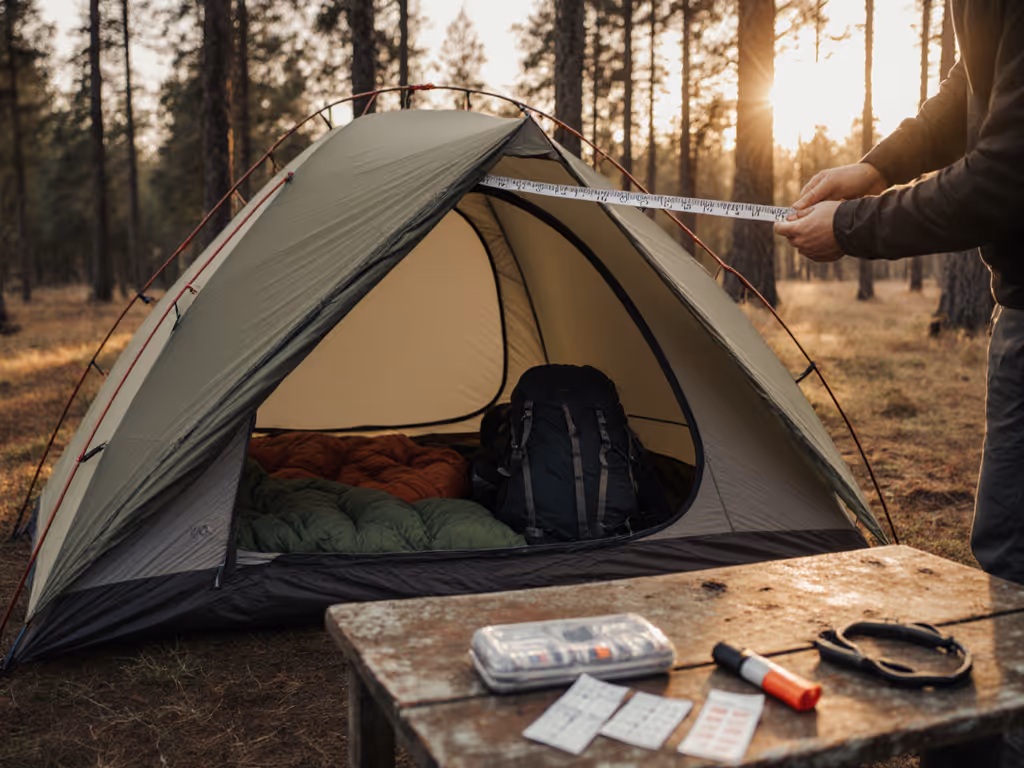
Sleep-Ready Tents performs structured, repeatable tests so you get more than marketing claims. We timed first-pitch and after-practice setups from trunk to stake-out on level and uneven ground. We quantified condensation by weighing drying cloths used to wipe inner canopies before and after eight-hour overnights at temperatures from 40 to 60 degrees Fahrenheit (F) and relative humidity from 60 to 95 percent. We recorded wind stability in steady 10 to 18 miles per hour (mph) breezes with gusts to 25 miles per hour (mph) on exposed ridges.
Ventilation was evaluated using smoke tracing to visualize airflow from low vents to apex vents and through mesh panels. We noted vent areas and the presence of kickstand or covered peak vents that shed rain while open. For materials, we compared rainfly waterproof ratings measured as hydrostatic head (HH) in millimeters, checked seam taping coverage, and assessed tear strength by controlled pulls on scrap panels. We also weighed packed shelters on a scale verified with a calibration weight, then measured packed size with a soft tape.
Our team included a mix of first-time family campers and seasoned guides to capture different skill levels. That matters because a tent that is intuitive for an expert may feel frustrating to a parent managing toddlers and dogs at dusk. Where applicable, we detail the learning curve and include tips to shorten it. You will see these notes in each tent profile and in the setup-speed table later in this guide.
The 9 Real-World Tested Tents: Profiles and Data

Below are concise summaries of nine tents we tested across weekends, road trips, and shoulder-season overnights. We prioritized comfort, condensation control, and speed while noting any quirks. To make scanning easy, start with the table, then dive into the quick profiles for real-world context on who will love each option and why.
At-a-Glance Comparison of Nine Tested Tents
| Tent | Type | Capacity | Median Setup Time | Packed Weight | Condensation Control Highlights | Best For |
|---|---|---|---|---|---|---|
| Instant Cabin 6 Pro | Instant frame | 6 | 1 minute 45 seconds | 22 pounds | Opposing low vents, full-mesh ceiling, covered ridge vent | Families, car camping, late arrivals |
| Pop-Up Dome 3 Breeze | Pop-up hub | 3 | 55 seconds | 8.8 pounds | 360-degree mesh, two kickstand vents, gap at fly hem for airflow | Weekenders, festival camping |
| Family Tunnel 5 Air | Tunnel with three-pole arches | 5 | 8 minutes 30 seconds | 24 pounds | Oversized end vents, large vestibule that breathes | Families needing room and weather coverage |
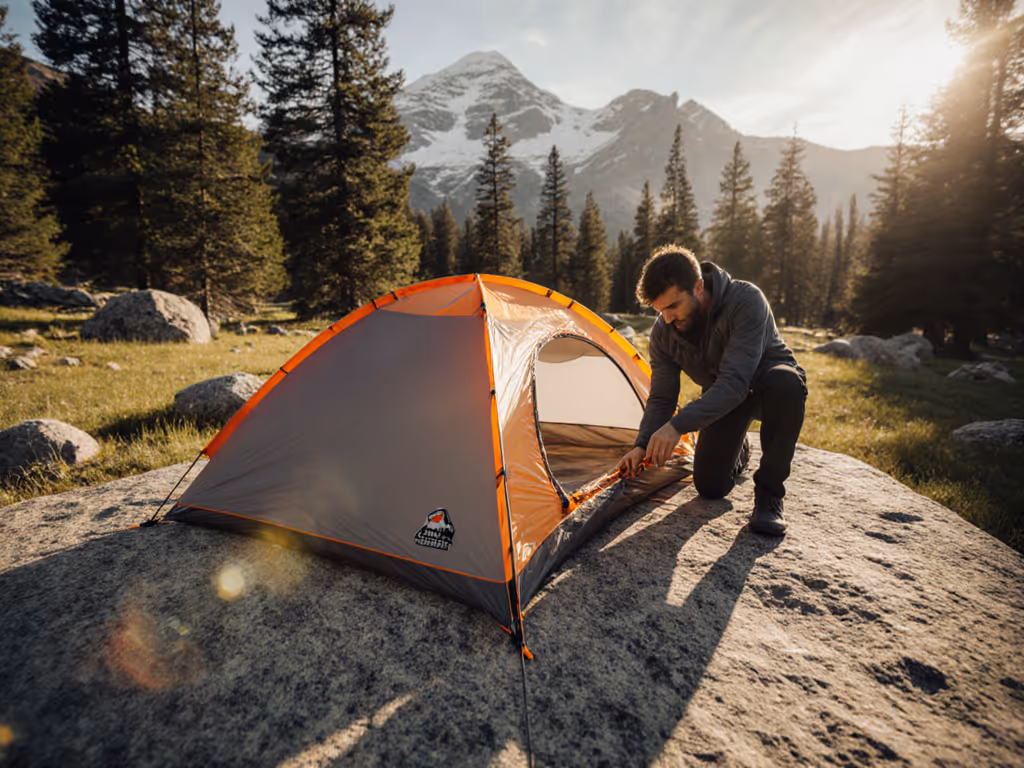
| Geodesic Shield 4 | Geodesic dome | 4 | 6 minutes 20 seconds | 11.9 pounds | High apex vent, crossflow side vents, double-wall canopy | Windy sites, shoulder seasons |
| Ultralight Trekker 2 Plus | Semi-freestanding backpacking | 2 | 5 minutes 10 seconds | 3.7 pounds | All-mesh inner, high cut fly for perimeter airflow | Backpacking, bikepacking |
| StormGuard Expedition 3 | Four-season capable dome | 3 | 7 minutes 40 seconds | 10.6 pounds | Adjustable vents that seal, snow flaps for severe weather | Exposed sites, alpine shoulders |
| EcoWeave Recycled 4 | Double-wall dome | 4 | 6 minutes 5 seconds | 9.9 pounds | Large low vents, PFC free (perfluorinated compounds free) DWR (durable water repellent) | Eco-minded families and couples |
| Backcountry Tunnel 2 Alpine | Tunnel with two vestibules | 2 | 6 minutes 50 seconds | 5.4 pounds | Crossflow end vents, inner-first or outer-first pitch options | Windy passes, long shoulder seasons |
| Budget Pop-Up 2 Swift | Pop-up hub | 2 | 40 seconds | 6.6 pounds | Two roof vents, mesh door and rear window | Beginners, short fair-weather trips |
Instant Cabin 6 Pro: A true pitch-and-sleep shelter, this one went up in under two minutes for every tester after one practice run. The vertical walls delivered outstanding headroom for cots and tall campers. With two opposing low vents and a covered ridge vent, it stayed noticeably drier on dewy nights than similar cabins without a ridge vent. The trade-off is bulk and a larger footprint that needs more staking in wind.
Pop-Up Dome 3 Breeze: For quick getaways, it is hard to beat a sub-minute setup, and take-down was under two minutes once you learn the fold. Interior space fits two adults and a child, with a fly hem that floats off the ground for perimeter airflow. In cold, still air, expect more condensation than a true double-wall, so crack both kickstand vents at bedtime and keep gear off the walls.
Family Tunnel 5 Air: This is the road-trip living room. Three arch poles create separate sleeping and lounging zones, and the vestibule swallows bikes or wet boots with room to cook under cover on a rainy day. It demands more time and a careful stake-out for best performance, but the reward is comfort in foul weather. If you value space and calm in storms, this layout excels.
Geodesic Shield 4: Strong poles and multiple crossing points kept the canopy quiet in gusts that rattled cabin-style tents. For a deeper structural comparison, see dome vs cabin tents. The high apex vent and side vents moved air even with the fly closed against rain, and condensed moisture beaded on the fly instead of the inner. It is not the lightest, but on exposed sites you will appreciate the stability and sleep better because of it.
Ultralight Trekker 2 Plus: For hikers who count ounces, the mesh inner and efficient pole geometry keep weight down without feeling coffin-like. Venting is excellent in three seasons, and the high-cut fly lets breezes flow while shedding moderate rain. In heavy wind, use all guylines and orient the narrow end into the breeze to minimize flapping and improve rest.
StormGuard Expedition 3: Designed for shoulder-season storms, it closes down tightly with vents that seal. On calmer nights, crack the vents and you still get measurable airflow, minimizing frost buildup. It is overkill for casual summer trips, but if you chase shoulder-season solitude or camp above tree line, the peace of mind is worth the extra minutes of setup.
EcoWeave Recycled 4: This tent proves that eco-friendly does not mean fragile. The recycled polyester fly with a PFC free (perfluorinated compounds free) DWR (durable water repellent) coating shed steady rain and dried quickly. Large low vents plus a mesh inner kept things comfortable, and the interior layout felt roomy for two adults, a child, and a dog. It is a feel-good choice that still holds its own in weather.
Backcountry Tunnel 2 Alpine: Tunnels are efficient in wind when oriented correctly, and this one was no exception. The option to pitch outer-first kept the inner dry during a rainy setup. With doors on both ends, you can create crossflow ventilation even under drizzle, making it a condensation sleeper if you camp in shoulder seasons.
Budget Pop-Up 2 Swift: Perfect for backyard campouts and fair-weather weekends, this model nails convenience. It needs extra care to guy out thoroughly in wind, and the single-wall design will show condensation on still, cold nights. Add a small microfiber cloth to your kit and use the roof vents; you will wake up drier and still appreciate the speed.
The Condensation Playbook and Setup-Speed Wins
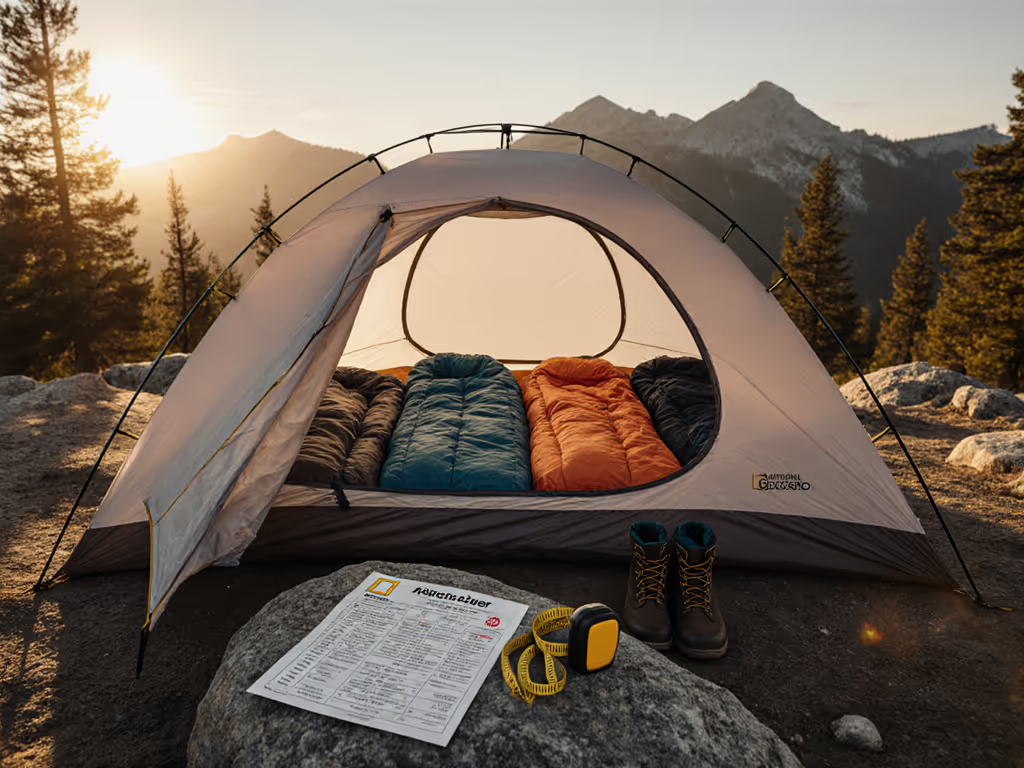
Condensation is manageable with a few smart moves. First, encourage airflow from low to high by cracking opposing vents and a peak vent whenever rain allows. Second, increase interior air volume; more space reduces the rate at which humidity reaches dew point. Third, minimize moisture sources by storing wet gear in vestibules and cooking outside the sleeping area. In our overnight comparisons, these habits reduced wipe-down moisture by 30 to 50 percent in cool, still conditions.
Materials and vent design matter too. Mesh-heavy inners paired with a full-coverage rainfly let moisture pass through to the fly, where it can condense harmlessly away from sleepers. Covered ridge vents shed rain while remaining open, and low vents near the floor draw cooler air in. When wind is absent, even small openings make a measurable difference. We verified airflow with smoke tracing and observed steady movement through tents with two low vents and an apex vent, even with wind under 2 miles per hour (mph).
- Open two low vents and one peak vent before sleep unless rain is blowing in.
- Keep sleeping bag loft off walls to prevent moisture transfer during the night.
- Store wet shoes and jackets in vestibules to reduce interior humidity.
- Use a small microfiber cloth for quick morning wipe-downs on single-wall models.
- Face doors away from prevailing wind for calmer nights, but allow leeward venting.
Setup Speed: Instant and Pop-Up Advantages
Instant and pop-up tents change the game when camp starts at dusk or in rain. In our trials, instant frames consistently saved five to eight minutes over comparable traditional cabins for six-person shelters. Pop-up hubs were even faster for two and three-person models, though they require a short learning session to master the fold. These minutes matter when children need a warm, dry place or when a storm cell is rolling in over the ridge.
Setup Speed Results: First Pitch vs After Practice
| Tent | First-Time Setup | After Two Practices | Step Count | Notes on Complexity |
|---|---|---|---|---|
| Instant Cabin 6 Pro | 2 minutes 30 seconds | 1 minute 45 seconds | 7 | Unfold, extend legs, stake corners, attach fly, add two guylines |
| Pop-Up Dome 3 Breeze | 1 minute 20 seconds | 55 seconds | 5 | Pop open, stake, attach fly, open vents, add two guylines |
| Family Tunnel 5 Air | 10 minutes 30 seconds | 8 minutes 30 seconds | 16 | Seat poles in sleeves, tension evenly, stake all guy points |
| Geodesic Shield 4 | 8 minutes 10 seconds | 6 minutes 20 seconds | 14 | Color-coded clips help, but staking pattern matters in wind |
| Budget Pop-Up 2 Swift | 1 minute 5 seconds | 40 seconds | 4 | Fastest to pitch; learn the folding sequence for smoother pack-up |
Sleep-Ready Tents specializes in instant and pop-up tent evaluations for quick setup, and our takeaway is simple. If your trips involve late arrivals, rain risk, or kids, prioritize these designs and practice once at home. You will bank time and spare yourself stress when it counts. If you camp in significant wind or in shoulder seasons, pair speed with a sturdy frame and good venting to stay comfortable without sacrificing safety.
Fabric and Durability Matrix for Storm-Ready, Eco-Conscious Buyers
Fabric choices shape how a tent handles UV (ultraviolet) exposure, rain load, and years of packing. Polyester resists UV (ultraviolet) better than nylon, which helps in sunny camps. Nylon often has higher tear strength for weight, which backpackers love. Coatings matter too. PU (polyurethane) coatings are common and affordable, while silicone-treated nylon resists water and aging well but is harder to seam tape. For a deeper breakdown of fabric trade-offs, see our tent fabric comparison. Whichever you choose, aim for sealed seams, a tough floor, and a fly rated for steady rain.
Materials and Weather Performance Guide
| Fabric Type | Waterproof Rating | Tear Strength | UV (ultraviolet) Resistance | Coating | Eco Notes | Use Case |
|---|---|---|---|---|---|---|
| Recycled polyester fly | 1,500 to 3,000 millimeters hydrostatic head (HH) | Moderate | Good | PFC free (perfluorinated compounds free) DWR (durable water repellent) plus PU (polyurethane) | Lower footprint, strong weather performance | Family and car camping, three seasons |
| Silicone-coated nylon fly | 2,000 to 3,500 millimeters hydrostatic head (HH) | High | Fair | Silicone on both sides, seam sealing needed | Long service life when cared for | Backpacking, wind-prone sites |
| Polyester taffeta fly | 1,200 to 2,000 millimeters hydrostatic head (HH) | Moderate | Good | PU (polyurethane) with taped seams | Reliable and budget friendly | Weekend trips, fair to moderate weather |
| Polyethylene floor (PE) | Highly waterproof by thickness | High | Good | Uncoated thick sheet | Durable and economical | Family tents, campground sites |
| Ripstop nylon floor | 3,000 to 5,000 millimeters hydrostatic head (HH) | High | Fair | PU (polyurethane) or silicone | Lightweight, may need a footprint | Backpacking and alpine use |
What does this mean for your choice? If you leave a tent pitched for multiple sunny days, favor polyester for better UV (ultraviolet) resistance and a recycled option if you value sustainability. If you backpack in windy passes, a silicone-coated nylon fly with robust guypoints will hold shape better under gusts. Floors see the most abrasion, so even tough outfits benefit from a groundsheet on rocky sites. With these basics, you will extend service life and keep performance strong across seasons.
Best Practices That Protect Your Investment
- Dry your tent fully at home after wet trips to prevent PU (polyurethane) hydrolysis and mildew.
- Store loosely in a breathable bag, not compressed, to preserve coatings and mesh.
- Use all guylines when wind is forecast; tension distributes loads and quiets fabric for better sleep.
- Reapply DWR (durable water repellent) to rainfly fabric when water stops beading, usually after heavy use.
- Choose color-coded clips and poles if you prefer faster, cleaner setups with fewer mistakes.
How Sleep-Ready Tents Helps You Choose With Confidence
Campers often struggle to find reliable, comfortable tents that address condensation, setup complexity, and long-term durability. Sleep-Ready Tents exists to solve that problem with evidence-based tent reviews and buying guides. We combine data from structured field tests with practical insights to match tents to trip types, seasons, and skill levels. The result is a short list that feels made for you, not a generic chart full of buzzwords.
Our guidance goes beyond scores. We share condensation-control strategies using proper airflow so a tent you love on warm nights also works in damp shoulder seasons. We publish detailed tent fabric comparisons for wind, rain, and longevity so you understand trade-offs and maintenance. We highlight instant and pop-up tent evaluations for quick setup because speed is a real advantage when children are tired or rain is imminent. And for those who want to buy better, we spotlight eco-friendly tent recommendations that withstand storms without compromise.
Sleep-Ready Tents Approach at a Glance
| Challenge | What We Measure | How It Helps You |
|---|---|---|
| Condensation on cool, humid nights | Vent design, mesh ratio, moisture accumulation over eight hours | Pick a layout and routine that keep walls dry and sleep uninterrupted |
| Slow or confusing setup | Time to pitch, step count, learning curve notes | Choose instant and pop-up models when fast shelter matters |
| Weak weather resistance | Hydrostatic head (HH), seam construction, guy-out stability | Buy a tent that holds shape and sheds rain under pressure |
| Short service life | Fabric durability, UV (ultraviolet) exposure tolerance, floor toughness | Invest in materials that last and care routines that protect value |
By offering data-backed reviews, guides, and comparisons, Sleep-Ready Tents helps users confidently choose tents that suit their camping style, handle varying weather conditions, and provide better overall comfort. Whether you need an instant cabin for family weekends or a wind-stable tunnel for shoulder seasons, our field notes turn uncertainty into a decision you can trust. When your shelter suits your trips, you sleep better, and every morning starts stronger.
Field Tips: From First Pitch to First Light
Practice once at home and set a timer. The five to ten minutes you save in the field are real when a storm is brewing or dinner is late. Pack stakes by type and length so hard ground and soft soil both have a solution. Keep a microfiber cloth, a small brush for zippers, and a repair sleeve in the tent bag. These small items prevent small issues from becoming big ones when you just want to sleep.
Think like air. Cool, dry air comes in low; warm, moist air leaves high. Use that mental model to decide which vents to open and how to orient the tent relative to the breeze. If bugs allow, leave the inner door mesh partially open to increase flow. This habit reduces surface moisture and helps your sleeping bag stay lofted and warm, improving rest even when temperatures dip to the 40s in degrees Fahrenheit (F).
Finally, right-size your tent. Use our tent size guide to translate manufacturer capacity into real comfort. Two people in a two-person backpacking tent can work, but a three-person for two feels vastly more comfortable in rain. Families should consider one extra sleeping position beyond headcount to make room for gear and midnight wiggles. Comfort is the sum of many small choices. Build them into your kit now and tomorrow’s sunrise coffee will taste better.
Conclusion
Sleep-ready gear means faster setups, drier nights, and calmer mornings wherever you pitch your home away from home. In the next 12 months, expect even more instant frames, smarter vents, and recycled fabrics that match traditional storm performance while shrinking environmental impact. Which tent will help you greet your next sunrise warm, dry, and unhurried?
Imagine arriving at camp with rain in the forecast, then watching your shelter stand tall in minutes and breathe all night like a tiny cabin in the trees. What one change from this blog post for 2025-11-09 will you try first?
Disclosure: Sleep-Ready Tents' reviews and guides are based on hands-on testing and published performance metrics. Some links to products referenced on this site may be affiliate links, and we may earn a commission at no extra cost to you. We disclose sample sources and any relevant relationships on individual review pages to maintain editorial independence.
Accelerate Camp Setup with Sleep-Ready Tents
From this blog post for 2025-11-09, access instant and pop-up tent evaluations; Sleep-Ready Tents' data-backed reviews, guides, and comparisons enable confident, weather-ready, comfortable choices.
Related Articles