Freestanding vs. Trekking Pole Tents: Which Fits Better
By Mateo Alvarenga • 2nd May

When you're shopping for a tent, manufacturer capacity claims rarely translate to how you'll actually sleep. For practical sizing advice before comparing designs, read our realistic tent size guide. A "3-person" tent doesn't guarantee three people will rest comfortably, especially if one of you sprawls, your partner shifts through the night, or your dog circles twice before settling. The difference between freestanding tents and trekking pole tents isn't just about weight or setup speed; it's about whether the layout and interior geometry let your group sleep like you're home, not stacked in a closet.
Headroom is a map, not a number. When you're comparing tent types, you're really comparing how poles are positioned, how that affects usable space, and whether you can move around without friction. This guide walks you through both styles with a focus on fit, interior comfort, and the practical reality of sleeping with partners, kids, or pets, not marketing specs.
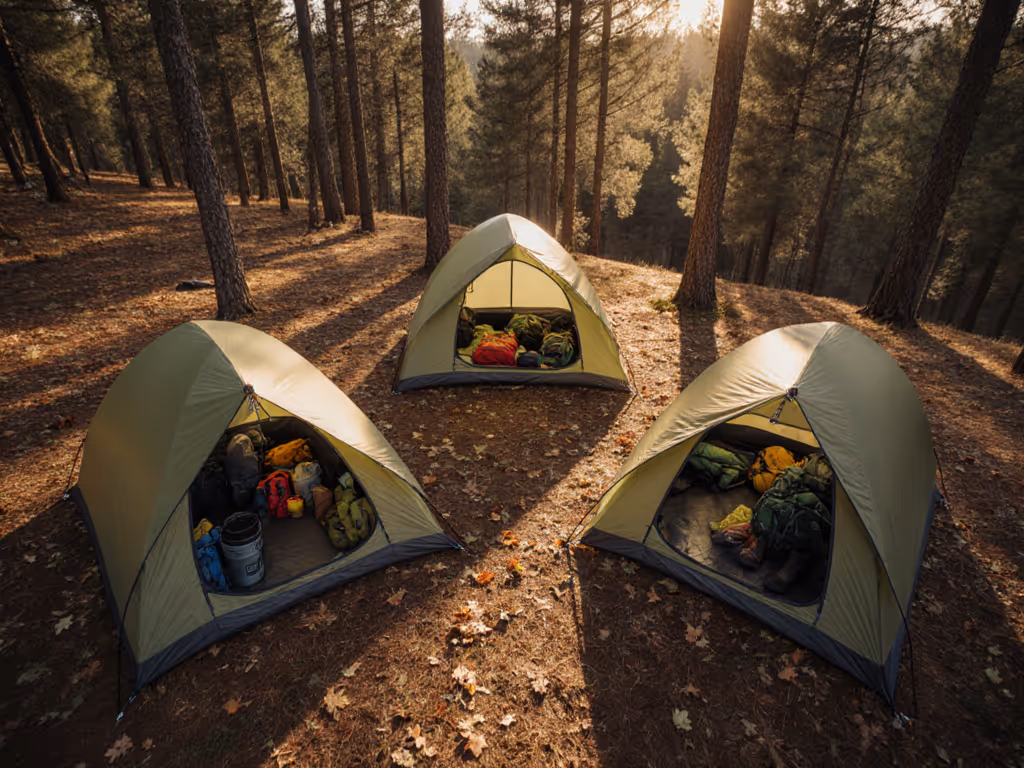
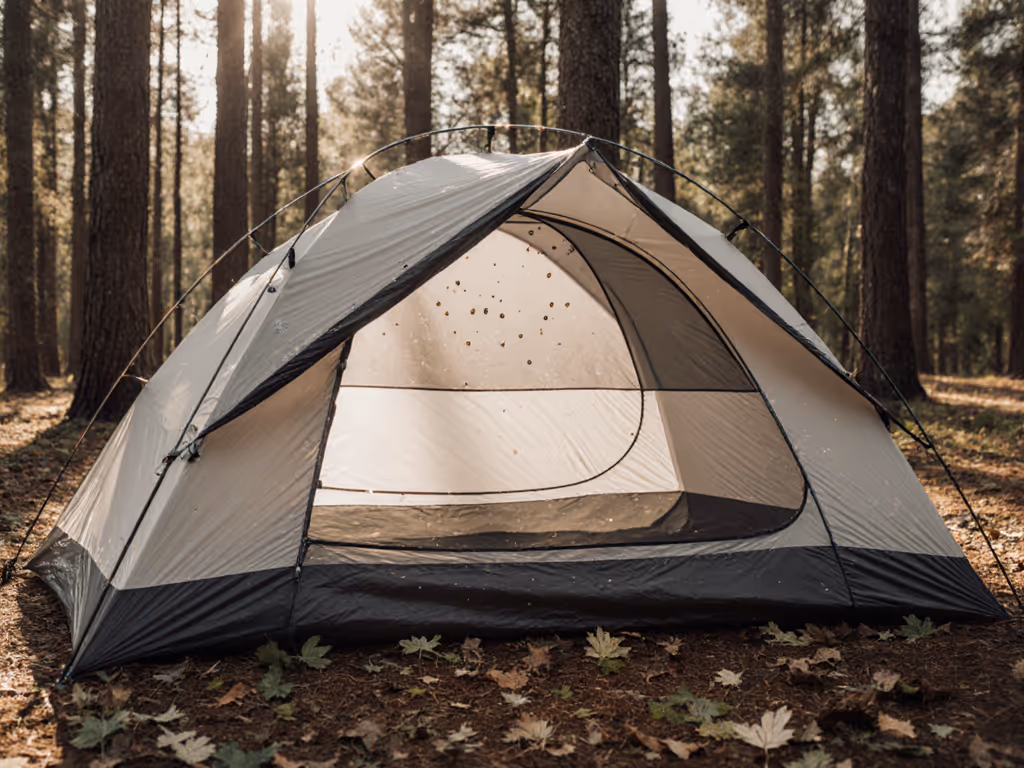
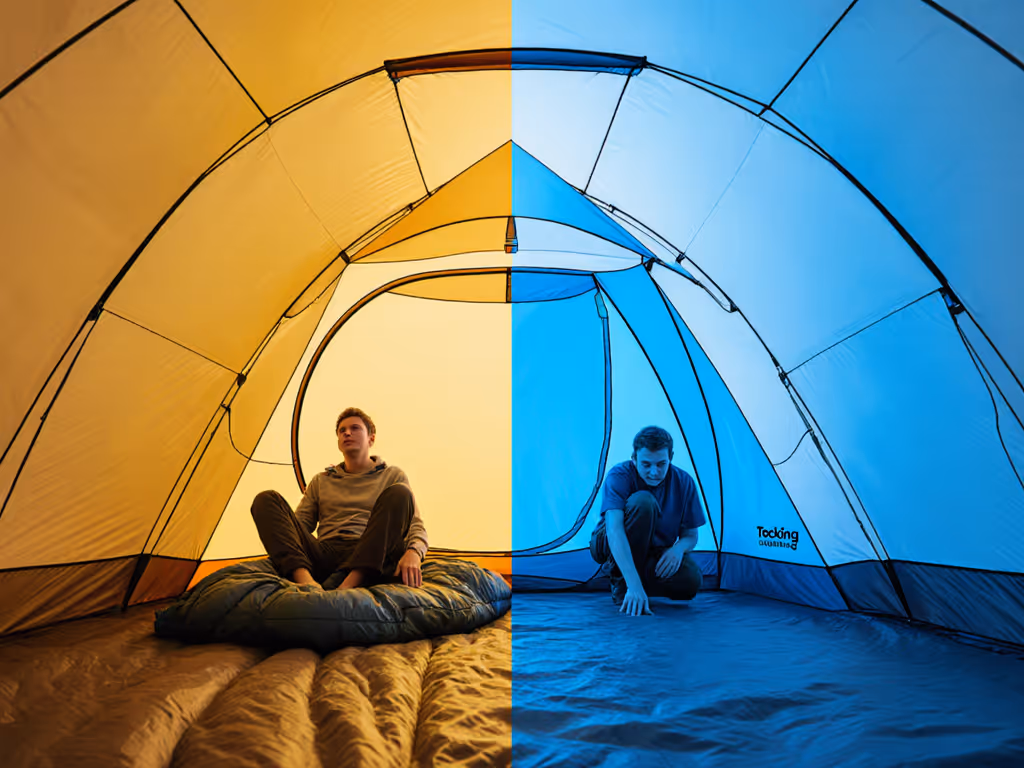
What Are Freestanding Tents?
Freestanding tents stand upright using included tent poles alone. You don't need stakes, guy lines, or your trekking poles to prop them up. Pick one up, move it anywhere in camp, and it maintains its shape. This is the dominant style among traditional backpackers and car campers for good reason.
The architecture of freestanding tents typically means:
- Separate rainfly (double-walled design): Most freestanding models ship with a distinct rainfly that sits outside the inner mesh tent. This gives you options: sleep under just the mesh on warm, bug-free nights for better ventilation, or deploy the fly for rain and cold. That flexibility matters for shoulder-season trips where conditions shift.
- Larger vestibules: Because the pole structure is independent, freestanding tents can be engineered with substantial covered entryways on one or both ends. This is where you stash muddy boots, wet gear, and where your dog waits during storms without pressing cold nose-prints on your face through the mesh.
- More interior volume and headroom: The pole geometry in freestanding designs often creates taller, more usable central space compared to trekking pole tents, which rely on pole compression from above.
- Weight penalty: Freestanding tents are typically heavier because they need robust poles and a stiffer frame to stand independently. If you're hiking 12 miles to a remote lake, that matters. If you're driving to a campground, it barely registers.
What Are Trekking Pole Tents?
Trekking pole tents aren't freestanding. They require your own trekking poles (inserted into dedicated sleeves at the apex or front of the tent) to stand upright, plus secure staking into the ground to tension the fabric and create a rigid frame. Without poles and stakes, the tent goes limp.
The trade-offs of trekking pole design:
- Lightweight: Because the tent doesn't carry its own support poles, you save significant weight (often 8-16 oz) compared to a freestanding equivalent. For backpackers covering long distances on foot, this is the decisive factor.
- Setup dependency: You must have trekking poles and the ability to drive stakes into the ground. On rock, frozen ground, snow, or sandy terrain, staking can be difficult or impossible. If you expect tricky ground, follow our challenging terrain setup guide to anchor securely on rock, snow, or sand. You cannot simply pick up the tent and relocate it if you discover a sharp rock under your sleeping spot; you would need to de-stake, move, and re-stake.
- Smaller vestibules: Because the structure is built around tensioned fabric and pole compression, vestibule space is limited. Muddy boots and dog crates don't fit as neatly.
- Setup complexity and sequence: Trekking pole tents often require a specific assembly order (insert poles, tension guy lines, stake everything) to achieve a rigid frame. In the dark or rain, this choreography is slower and more error-prone than a freestanding design.
Setup Comparison: Speed and Confidence
Setup friction is a real pain point, especially for families who've had tent-pitch arguments or solo travelers racing darkness.
Freestanding tents:
- Can be assembled almost anywhere, in any order, without stakes.
- Poles slide into sleeves; fly clips or snaps on; done.
- Even in wind or light rain, the tent holds shape while you work.
- Typical setup time: 3-5 minutes for practiced users.
- Beginner-friendly; mistakes don't compound. If you're new to pitching, our beginner tent setup guide breaks down a storm-proof routine.
Trekking pole tents:
- Require stakes, guy-line tension, and correct pole positioning from the start.
- A loose stake or mis-threaded guy line can leave the tent sagging or unstable.
- Wind or uneven ground makes setup harder, since the tent can't hold shape while you adjust.
- Typical setup time: 5-10 minutes, with a higher cognitive load.
- More forgiving on experienced trips; punishing if you're tired or new to the system.
For a parent new to camping with a restless toddler and a shepherd in tow, freestanding wins decisively. Speed and confidence matter because you can set up, then focus on everyone else instead of wrestling fabric while your dog wanders.
Interior Space and Real-World Fit
This is where my anecdote becomes a map: I once taped full-size pad cutouts to my living room floor, one 30-inch-wide sleeping pad, one 36-inch queen, then moved a tent over them and traced headroom and wall proximity with a laser line. My partner sprawled on the 36, I took the standard width, and our shepherd circled twice in the remaining vestibule space. The map showed us exactly which "3-person" models would actually work, and which would force our dog outside during rain.
Freestanding tents typically offer:
- Taller peak headroom because poles run front-to-back and side-to-side independently.
- More shoulder room at the widest section; less taper at foot.
- Space to sit up, change clothes, or tend to a child without contorting.
- Usable floor area closer to stated capacity because geometry is optimized for livability, not just raw volume.
Trekking pole tents often feature:
- Peak headroom concentrated at the apex where your poles meet.
- More pronounced shoulder taper because the pole structure compresses the frame.
- Wall proximity that forces sleepers into straight lines or side positions.
- Usable pad space 10-20% smaller than stated capacity due to sloped walls and pole footprints.
The gap widens with couples or families. A 2-person trekking pole tent might accommodate one standard pad plus a narrow inflatable; a 2-person freestanding often fits a full queen or two regular pads side-by-side with room to roll.
Vestibules, Doors, and Keeping Chaos Contained
Vestibule design (where your gear, muddy shoes, and pets live) is not a luxury. It's the difference between sleeping dry or waking to a wet bag because rain dripped off the outer fly and pooled inside.
Freestanding tents:
- Usually feature one or two large vestibules (often 15-20 sq ft per side).
- Door placement is typically centered, which means clear sightlines and minimal shuffling around sleeping partners.
- Room to stash a small pet crate, a day pack, and boots without creative tetris.
Trekking pole tents:
- Vestibules are compact, sometimes only 6-10 sq ft.
- Door placement can be offset or cramped due to pole geometry.
- Pets and kids' gear require careful stacking; muddy paws risk bumping the mesh wall and waking occupants.
For a family camping trip with a 50-pound dog, vestibule size shifts from nice-to-have to essential.
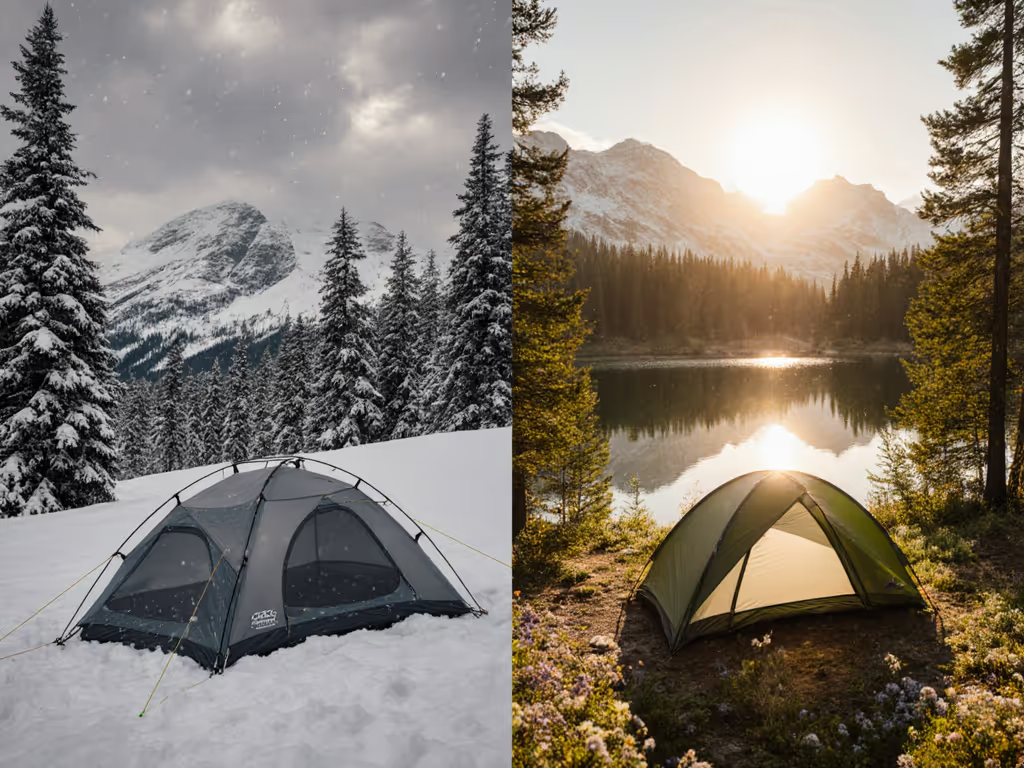
Weather Performance and Durability
Both tent types can be engineered for storm-worthiness. The question is habitability during storms.
Freestanding advantages:
- Double-wall design (inner mesh + outer fly) creates dead-air insulation and reduces condensation on the inner tent. To reduce moisture in any shelter, use these proven condensation fixes.
- Larger vestibules mean gear and wet people stay drier; cross-drafts under the fly reduce internal humidity.
- Ability to move the tent after setup lets you reposition if wind direction shifts or if you discover a water runoff line.
Trekking pole disadvantages in storms:
- Lighter fabric can flap and amplify wind noise, disrupting sleep and creating psychological stress.
- Limited vestibule means wet gear sits closer to the mesh, risking drips and condensation contact.
- Inability to relocate post-setup means you're committed to your site choice; if a drainage problem emerges, you're stuck.
Durability varies by materials and build quality, not tent type. A budget trekking pole tent might use thinner fabric that tears faster under dog claws or branch snags; a premium freestanding model uses ripstop nylon rated for years of use. Budget and longevity matter more than category here.
Choosing for Your Crew: Decision Framework
Use these scenarios to clarify which style fits your sleep pattern and trip profile.
Choose freestanding if:
- You camp with a partner, kids, or pets and prioritize interior comfort and livability.
- You access varied terrain (rock, sand, grassy meadows) and want flexibility in site selection.
- You value quick, low-stress setup, especially in rain or darkness.
- You're car camping or hiking short distances where weight is not the limiting factor.
- You want large vestibules for gear, muddy boots, and a safe zone for kids or pets during storms.
- You sleep poorly on narrow or uncomfortable pads and need real headroom to shift positions.
Choose trekking pole if:
- You're a solo backpacker logging 10+ miles per day and every ounce matters.
- You have reliable trekking poles and are proficient with stake-based setups.
- You're basecamp-style camping, setting up once and staying multiple nights in a known, staked location.
- You prioritize ultralight weight over interior luxury and are comfortable with minimal vestibule space.
- You have experience troubleshooting stake and guy-line setups in adverse conditions.
If you're unsure, freestanding is the safer bet for mixed-group camping. For a deeper technical comparison of structure, weight, and livability, see our freestanding vs trekking pole deep dive. The trade-off in weight is worth the gain in comfort, safety, and trip satisfaction, especially if poor sleep ruins the entire experience for your partner or kids.
Actionable Next Steps
-
Measure your sleep setup at home: Lay out the pads and pillows you'll use in the tent, and measure shoulder-to-wall distance, headroom from pad to ceiling, and foot clearance. Tape a cutout if possible. Use this as your baseline for comparing tent dimensions.
-
Visit a local retailer and test pitch: If you can, ask to see a freestanding and a trekking pole tent set up side-by-side. Lie down in each for 30 seconds. Note how your shoulders, knees, and head feel relative to walls and poles. Don't trust specs; trust the map.
-
List your non-negotiables: If you're camping with a dog, vestibule size is non-negotiable. If weight matters, trekking pole is the only option. If weather reliability is paramount, prioritize double-wall freestanding models with proven track records. Rank your priorities before comparing price or brand.
-
Read reviews from users like you: Look for reviews from groups similar to yours (couples, families, dog owners), not solo ultralight hikers if that's not your crew. Trip reports that mention real-world fit and sleep quality matter far more than unboxing videos or spec sheets.
-
Test before committing: If possible, rent or borrow the style you're considering for one night in your backyard or a local campground. Set it up, lie down with your partner or kids, stash your gear, and see if it feels like home or feels like a squeeze. One night of data beats weeks of research.
Your tent isn't just shelter; it's your bedroom, and sleep quality dictates the whole trip's success. Choose the type and model that lets everyone rest, not endure. Fit-first layouts turn marketing capacity into real sleep space.
Related Articles